Previously, I described setting up ready to make a cyanotype on paper. Below, I will explain how to set up the image for exposure, and how I judge exposure based on what is desired in the final image.
Setting Up An Exposure
The success of a contact photogram depends primarily on two things – keeping the subject in very close contact with the coated paper, and making sure the subject doesn’t move during exposure. Both needs are met most easily using a contact printing frame.
 It can be awkward making a small image in a large frame – and the reverse is well nigh impossible! – so I have a range of sizes of contact frames, from 2 x 2″ (approx 5 x 5 cm), up to 20 x 24″ (approx 50 x 60 cm). The smaller sizes are easy to find on eBay, while the larger can be expensive and difficult to source. Some commercial suppliers in the U.S. do still stock them. Commissioning a local joiner to make a large one, based on existing basic instructions, may be a more reasonable option. Or, make one yourself!
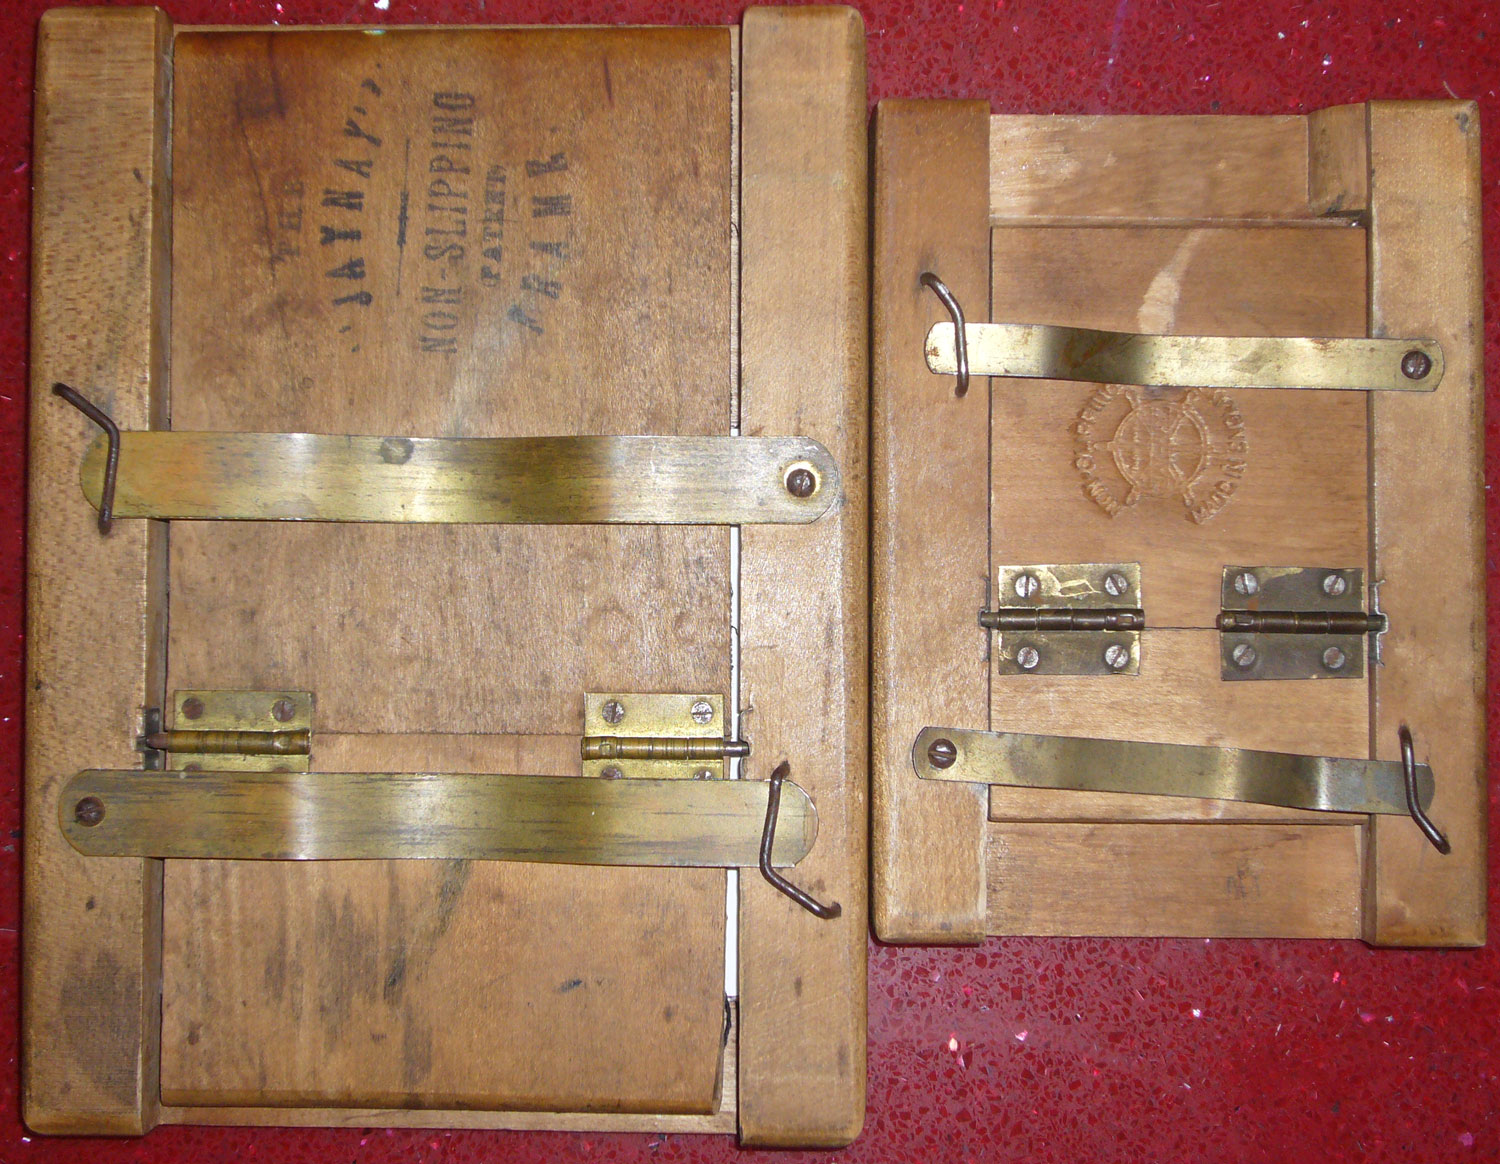
 Above, you can see the ‘split-back’ of the frames, which are essential to monitor exposure without moving the subject. On the reverse is the glass on which the subject is prepared and exposed. The sprung metal bars hold everything tightly together. If your subject is not pressed tightly to the paper, you will not get a sharp image. This may be your desired effect, and is a creative tool in making shadow photograms, but in this example we are looking for sharpness and detail in the final image.
Subjective Thoughts
Obviously, for a contact photogram, your subject needs to be as flat as possible. Contact printing can be used to expose negatives, but I usually work with natural subjects such as leaves, feathers, petals and so on. In this example I am making an image as a gift for SilverBirch Kindergarten, from where my youngest daughter is about to graduate. I have chosen to use fresh, small twigs and leaves from a silver birch tree, and will make an interpretive, rather than naturalistic, image.
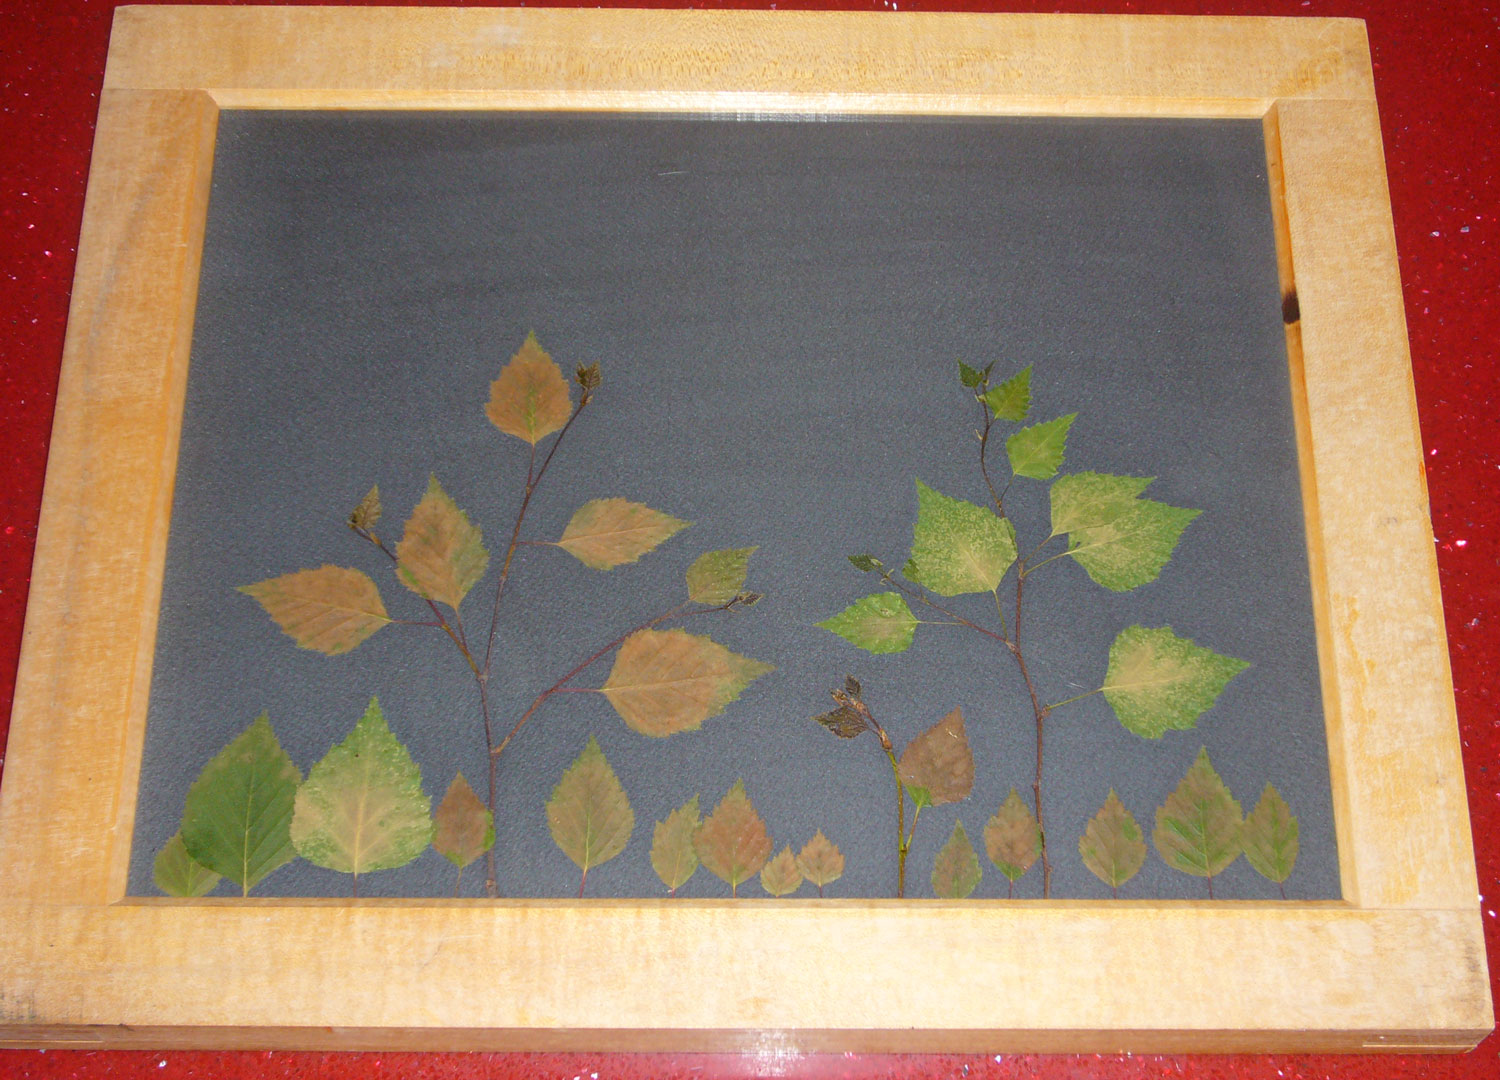 The subject is arranged on the glass, the paper is placed on top, and the back of the frame is carefully put in place and secured. While this sounds like an easy job, it is often incredibly frustrating. Most leaves and petals are not flat, and will crease when flattened deliberately. Part of the ‘fun’ is in working out how to get your subject to do what you want it to do. Alongside the main image I have also set up a smaller version – checking exposure on the big image might move some of the small leaves. Instead, I can check the small image, which will be exposed for the same amount of time.
 I am also setting up an image using a black hellebore flower (which did not want to be flat) to give another example of exposure control.
In these photos, the images have already been in the sun for a little while, and you can see that the uncovered paper has changed from yellow to a silvery grey/blue. Which brings us to….
Exposure Control
This is all about subtle (or sometimes not so subtle) changes in colour on the paper; from the original, unexposed yellow-green through shades of blue-green to a very deep grey-blue and on through lighter silvery colours again.
 Unexposed paper will become ‘fully’ exposed (i.e. will develop to the deepest blue in that image) after 5 – 20 minutes in the sun. Depending on the choice of subject and the type of image required, exposures can last from a few minutes up to several days.
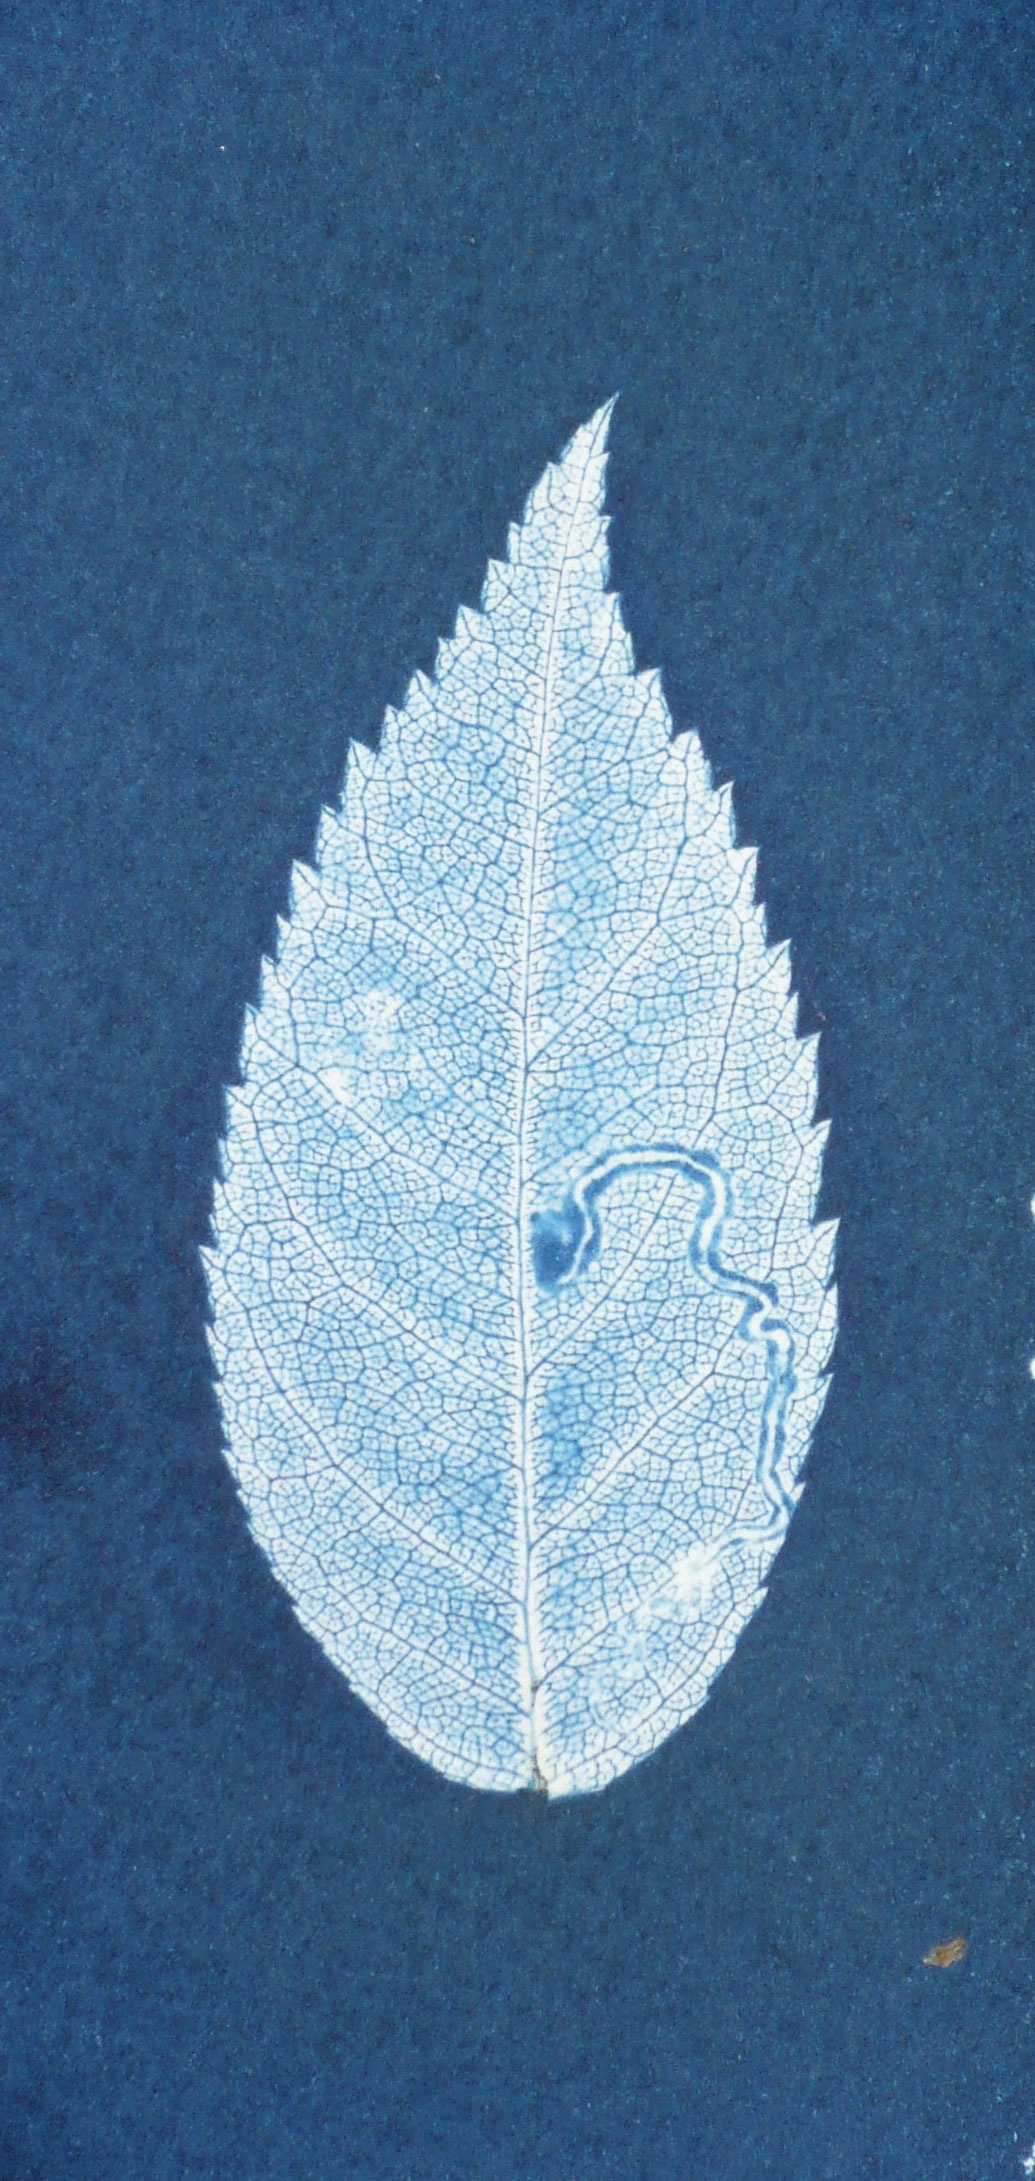
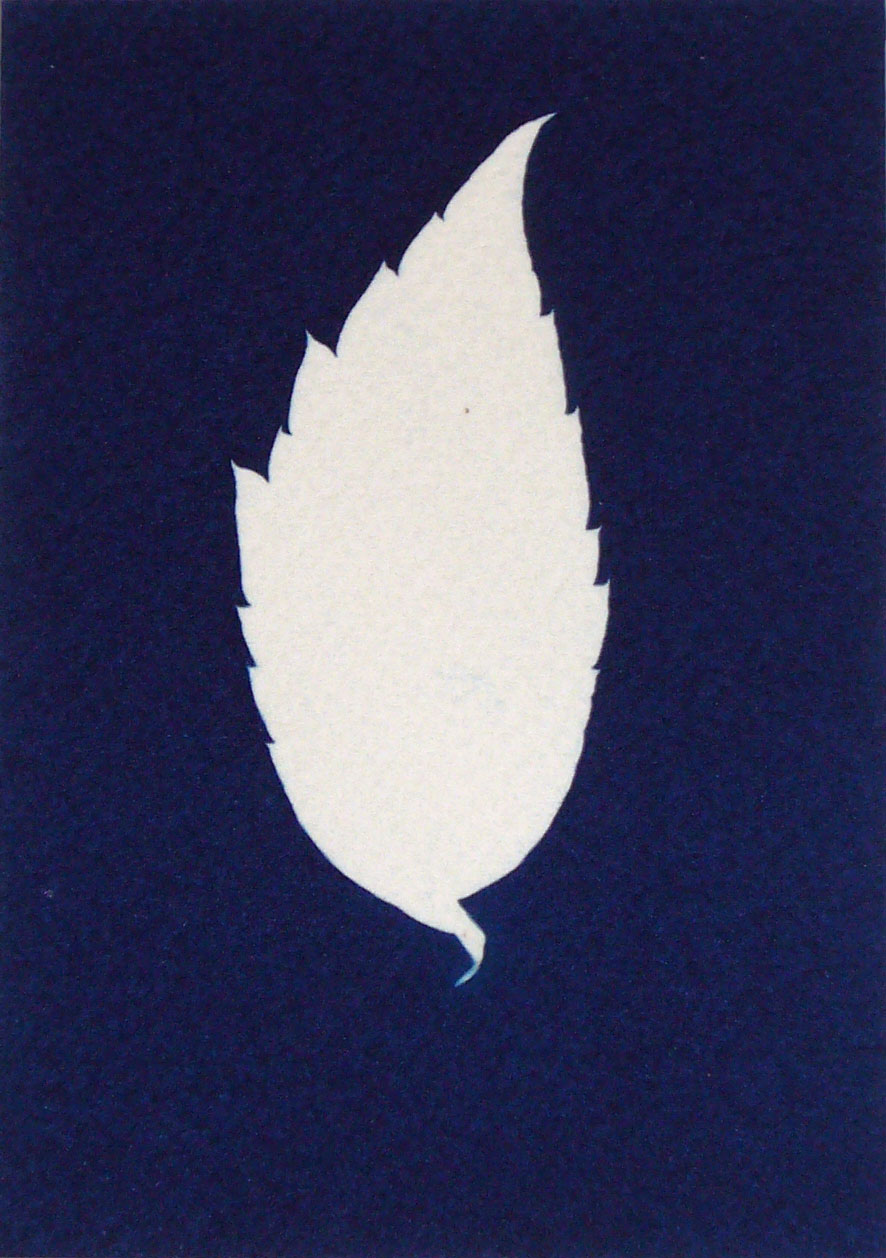
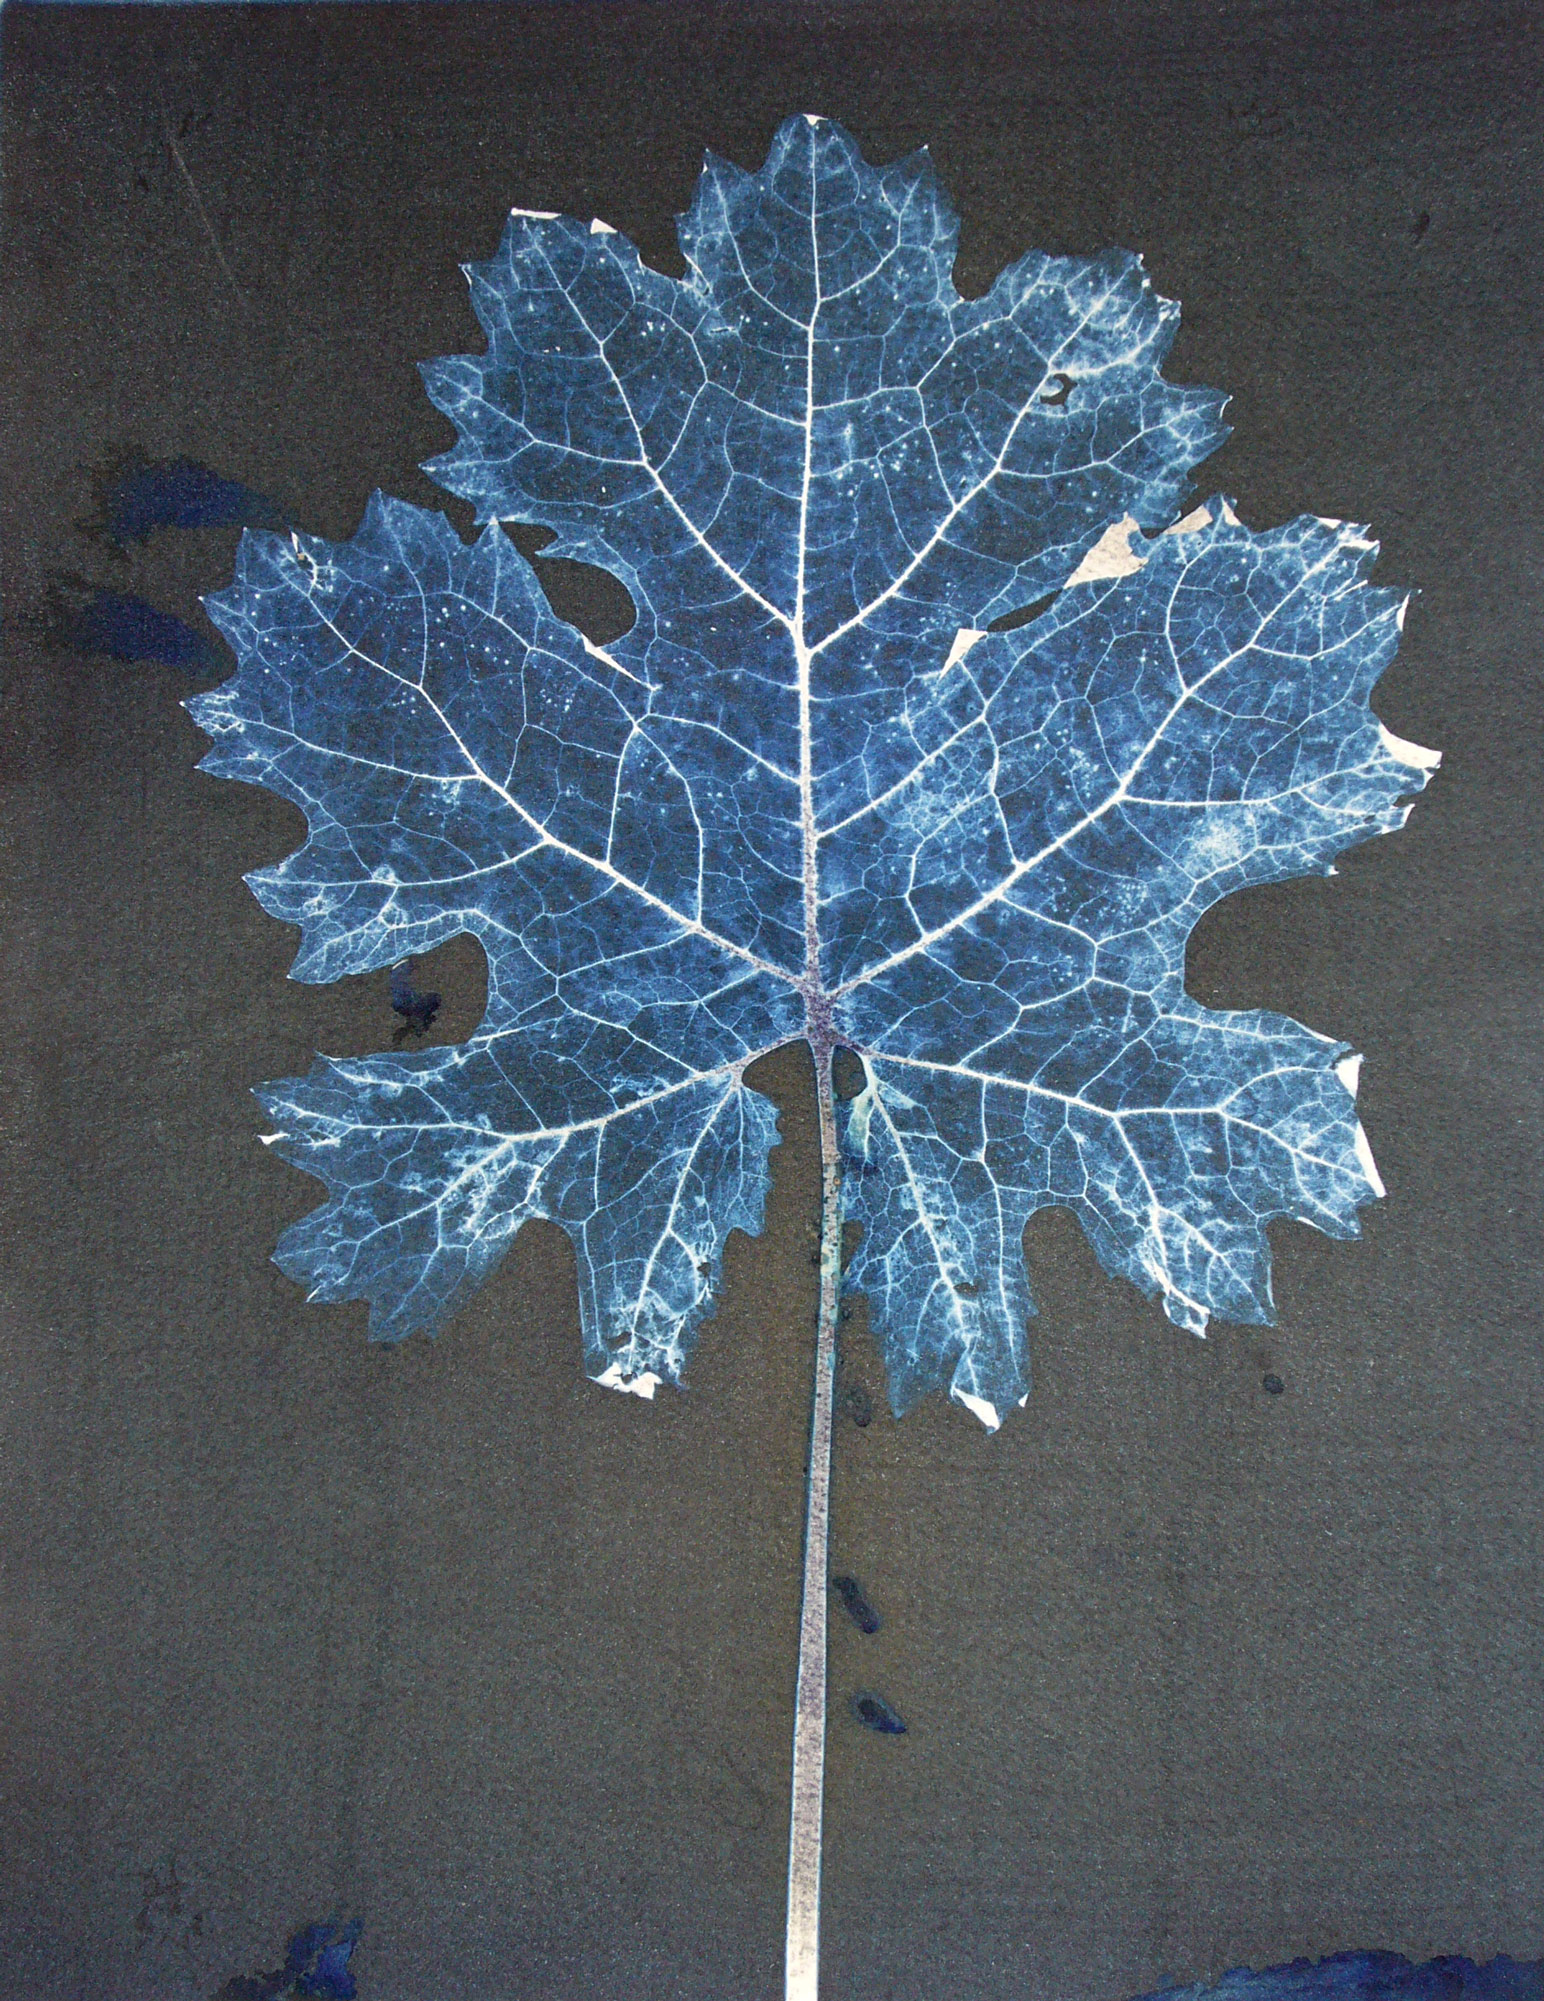
A few minutes means a leaf becomes a silhouette (above left), as not enough UV light has got through the leaf to change chemicals below. In comparison, an exposure of several days is needed for some leaves (above right) until enough UV has penetrated to give the required detail and colour. So, once you have decided on the artistic choice for your subject (from silhouette to full detail ), all that is left is to judge when the exposure matches this choice!
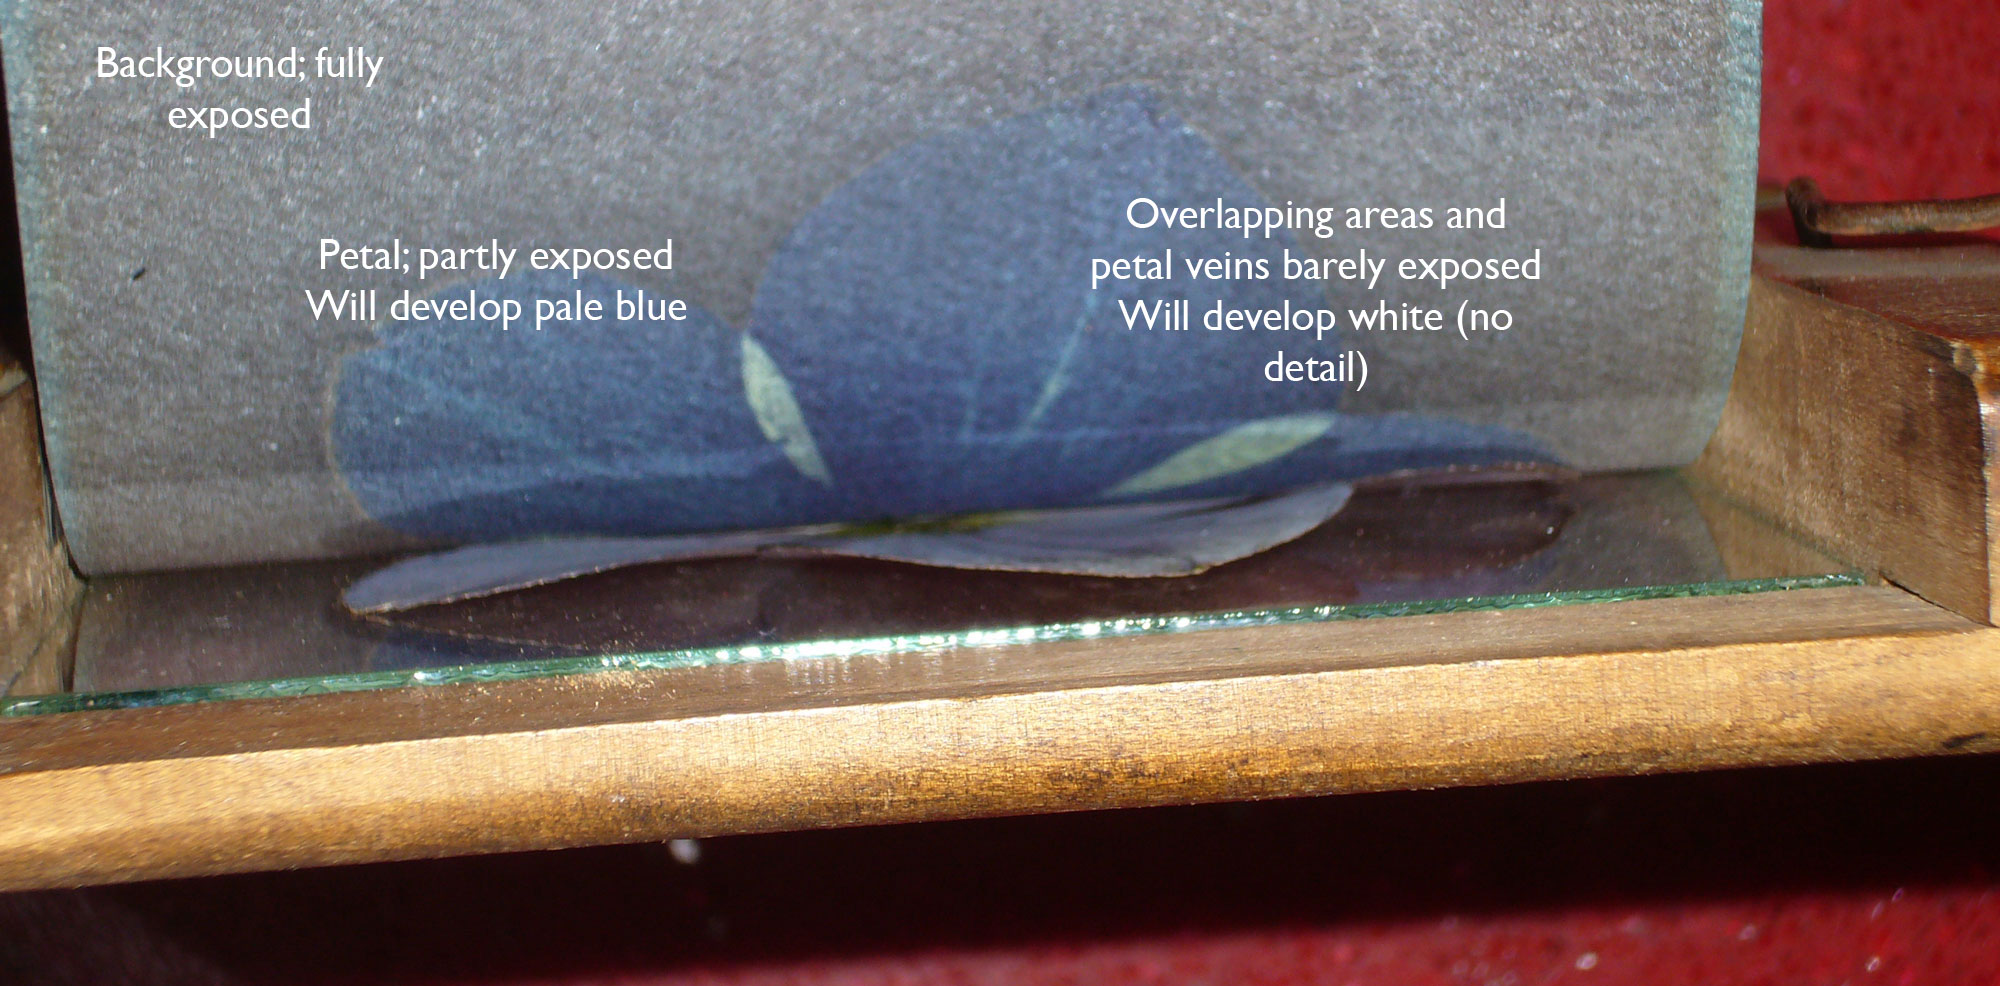 Here, the hellebore flower has been in the sun for about a day. The background is fully exposed. By lifting the smaller half of the split back, we can see how exposed the paper is beneath the flower, but without altering the registration of the flower or paper. At this stage of exposure, details of veins and overlapping area remain unexposed and will develop as white. But the question is… is this enough exposure to give the detail required?
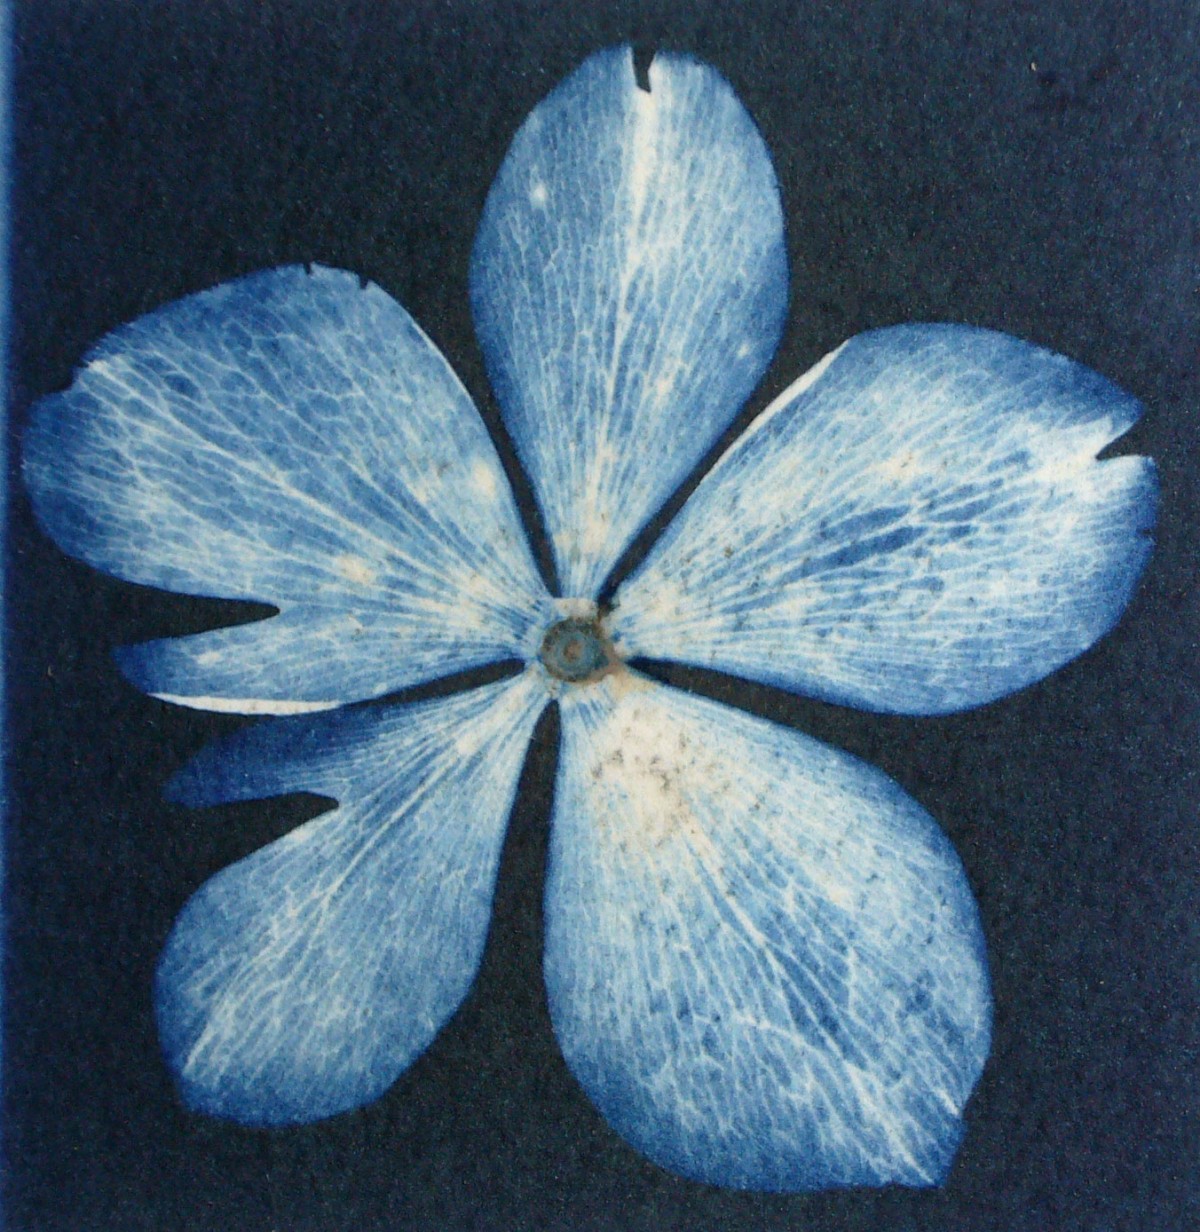
 Here is where the intuition comes in. If we want to get detail like in the rose leaf above, or like this previous flower (right), then longer exposure is needed.
 The birch leaves show very little exposure beneath them. Don’t be fooled by this blue colour! Most of this would be washed away during development, leaving at best a pale blue but no detail.
So, more sun needed. And, this being Yorkshire, the images are now resting until the sun appears again! Once it reappears the exposure will be finished and Part Three will go over the final decision to stop exposure and reveal the image through development.