
Introduction
I have been making cyanotypes for over 15 years. It is a simple process to use, and incredibly effective for the right subject. While any source of ultra-violet light can be used to drive the photochemical change which results in a permanent image, I have chosen to work using only sunlight.
This choice of sunlight means there is no standardization of exposure time, and the process becomes, in my opinion, more enjoyably intuitive. An intuition for exposure is gained through practise, by understanding how undeveloped chemical colour relates to what one will see in the final, developed image. Controlling exposure offers great creative opportunity, and the easiest way to learn is by doing – and, in particular, by making contact photograms.
Contact photograms are easy to set up and it is relatively easy to monitor their exposure. Below I will go through the process from chemicals to print. Please note that this is just the way I do things; there are a myriad of personalised methods to discover, which helps keep the making of cameraless photographs interesting, 175 years after the process was invented.
Setting Up
I use the classical cyanotype recipe, and full details can be found in these excellent articles:
Christopher James – The Cyanotype Process (pdf)
Getty – Cyanotype (Analytical Signature Series) (pdf)
Alternative Photography – Cyanotype; The Classical Process
 I get my chemicals from Silverprint, weigh them on digital scales and dissolve them in tap water. They are stored in the dark, in old jam jars. There are no secrets here, and I have not found that using distilled water or other ‘tips’ makes a discernible difference to the outcome.
When dissolved, 20% ferric ammonium citrate is a dark, forest green solution. Potassium ferricyanide 10% solution is bright yellow.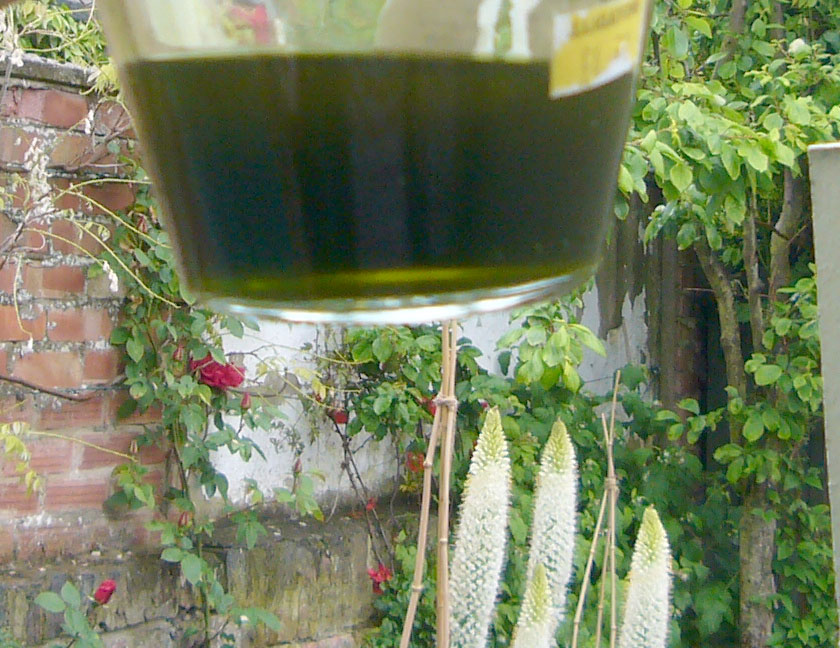
 The two solutions are mixed in a clean glass dish in a ratio dependent on what colour and texture I am looking for in the final image. I would recommend experimenting with ratios from 1:4 through to 4:1 and more, to see how creatively flexible the process can be.
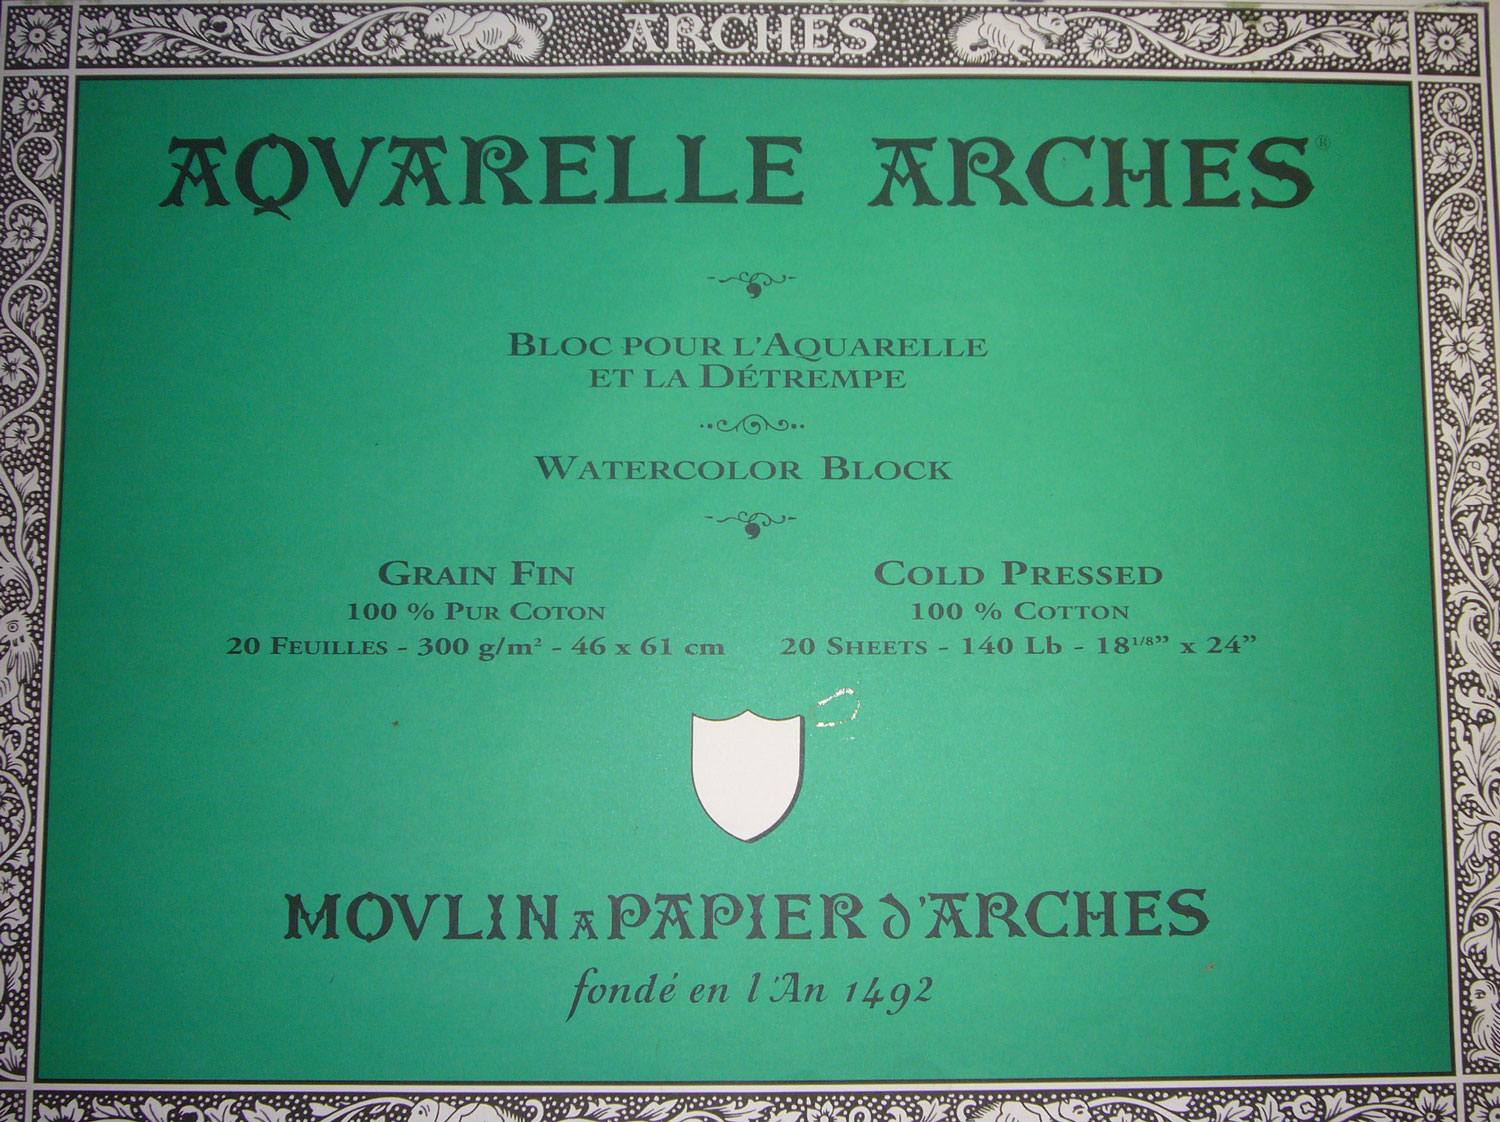 Mix only what you need for coating enough of your selected medium to be used during the next week or so at the most. I have seen no effect of using coated papers kept in the dark for a couple of weeks, and occasionally even a few months, but usually I coat enough to use over a few days. Anything which provides a surface into which the chemicals can soak and adhere can be used. Commonly this is watercolour paper or natural fabric, sometimes ceramic. My choice of paper is Arches Aquarelle 300 gsm. Whether to use rough, NOT or hot-pressed finishes is an artistic choice and should be considered alongside the subject and desired outcome.
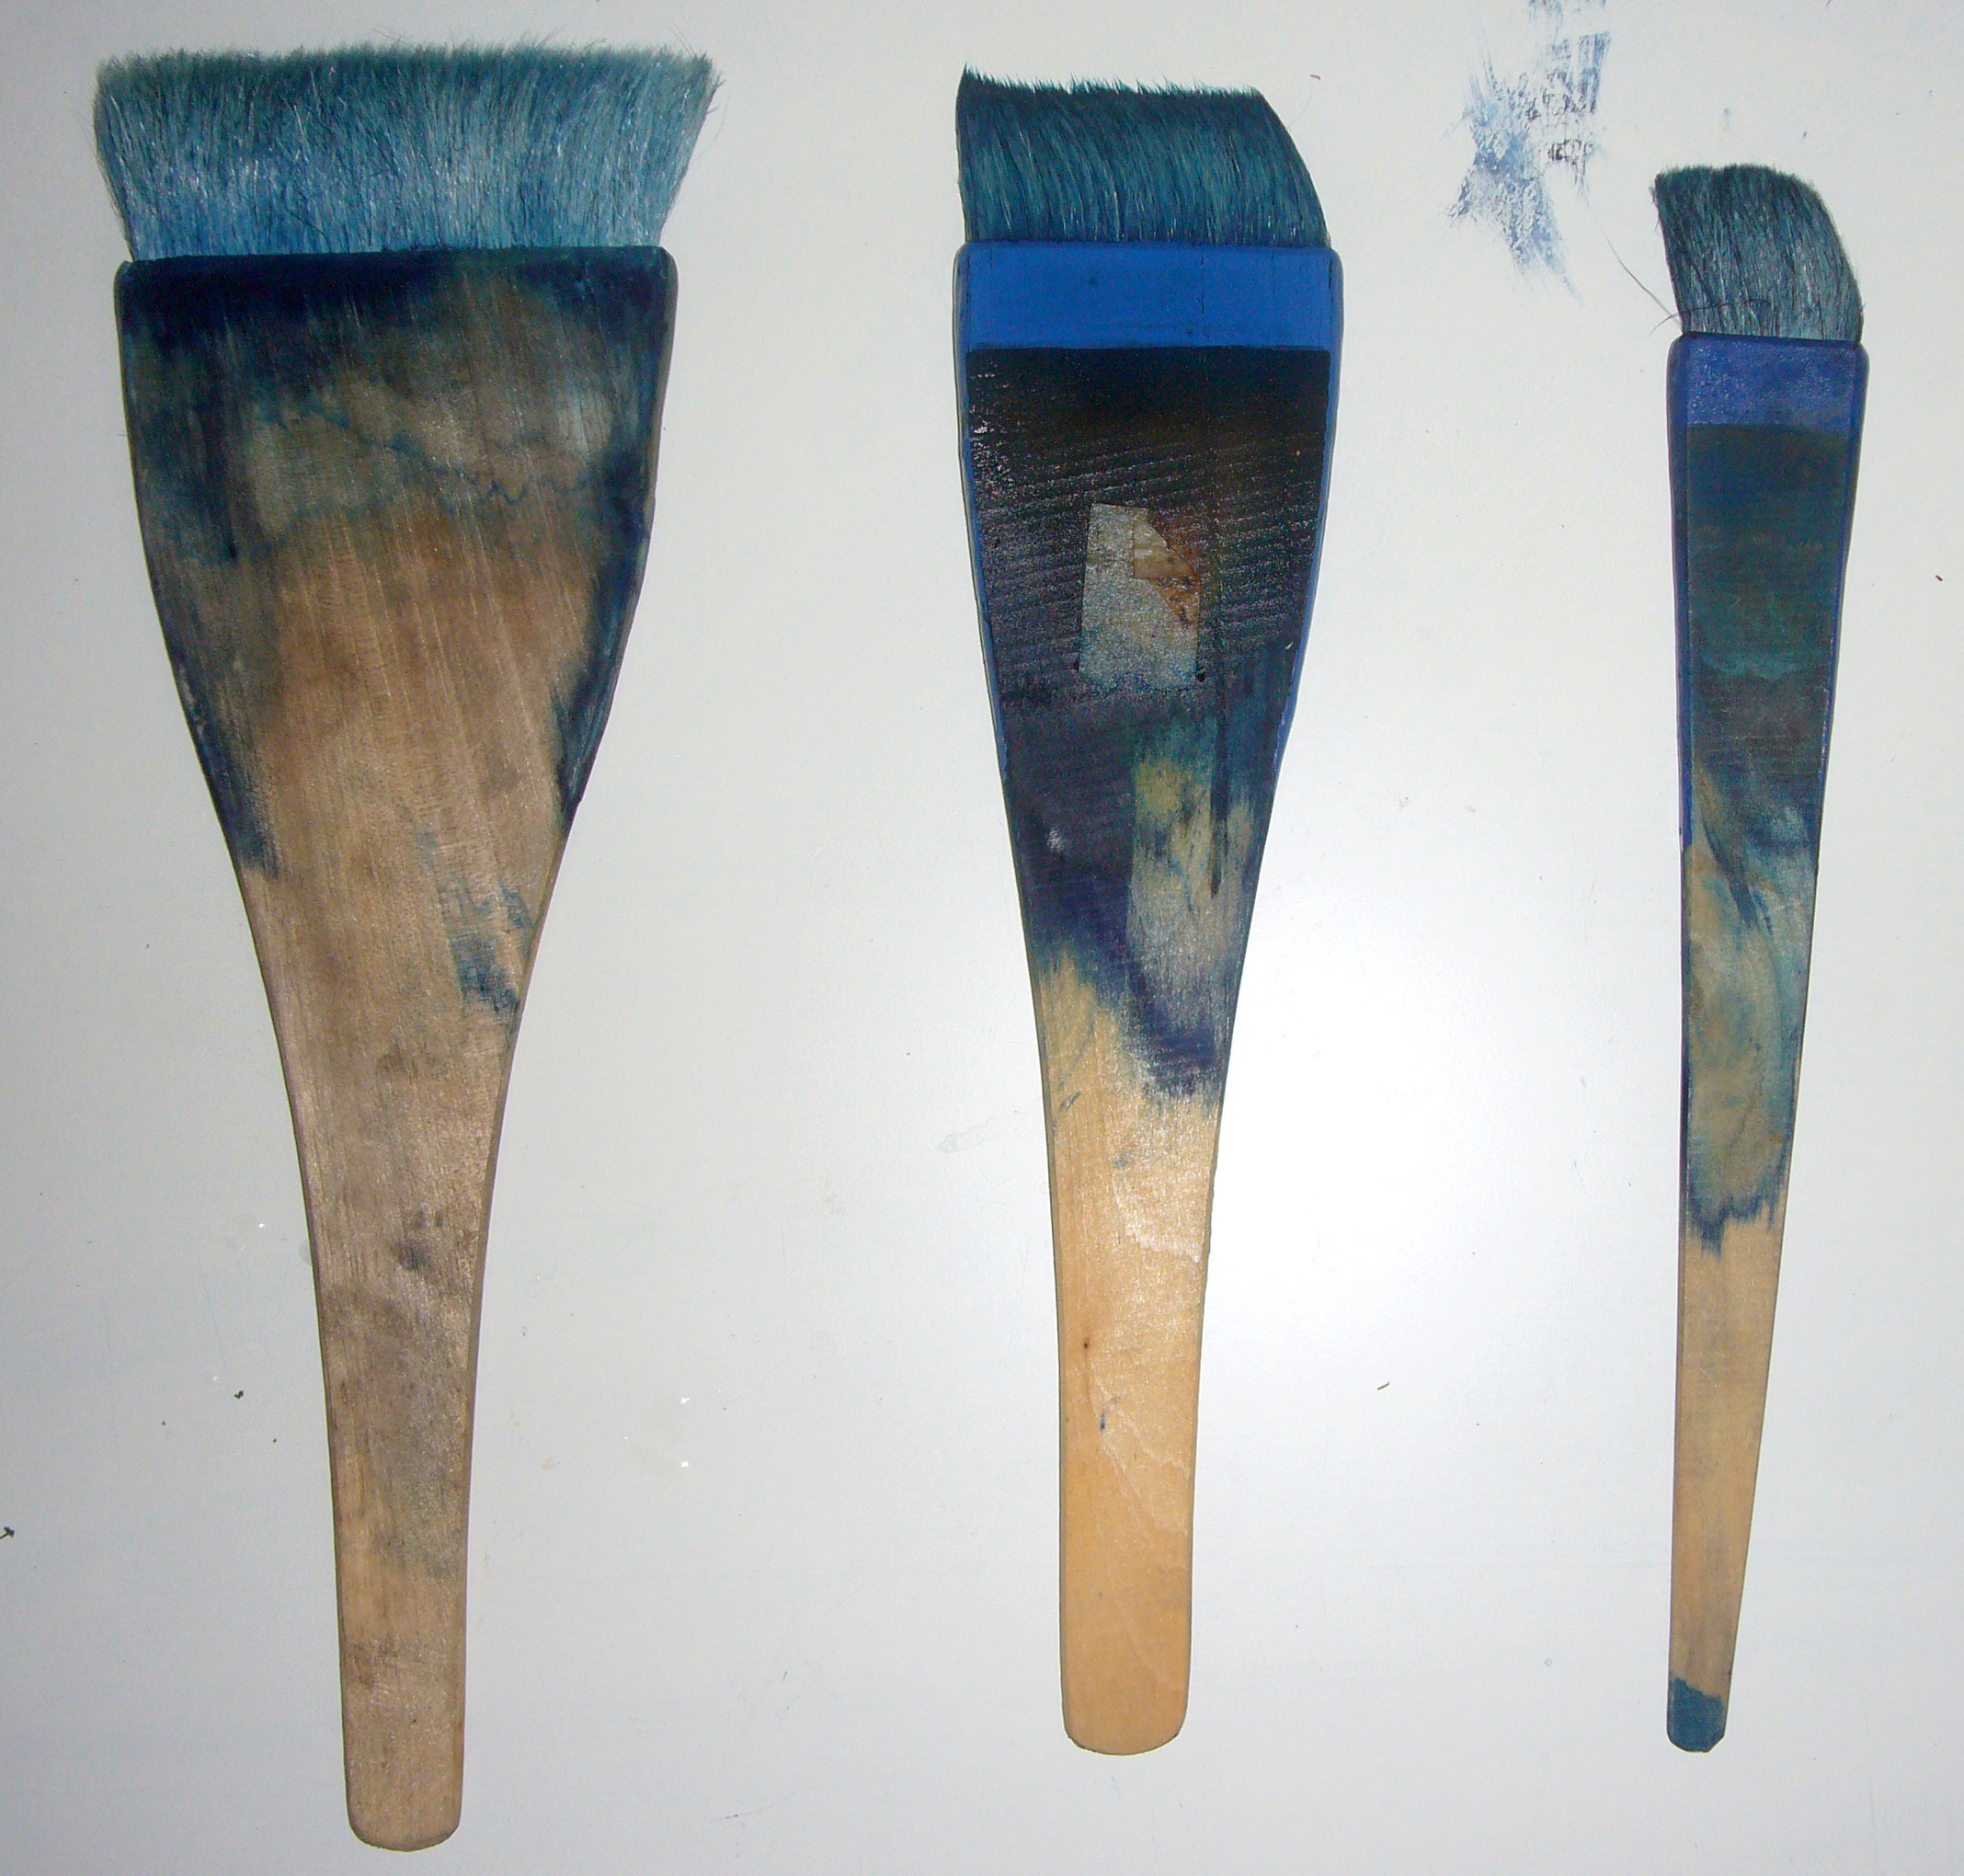
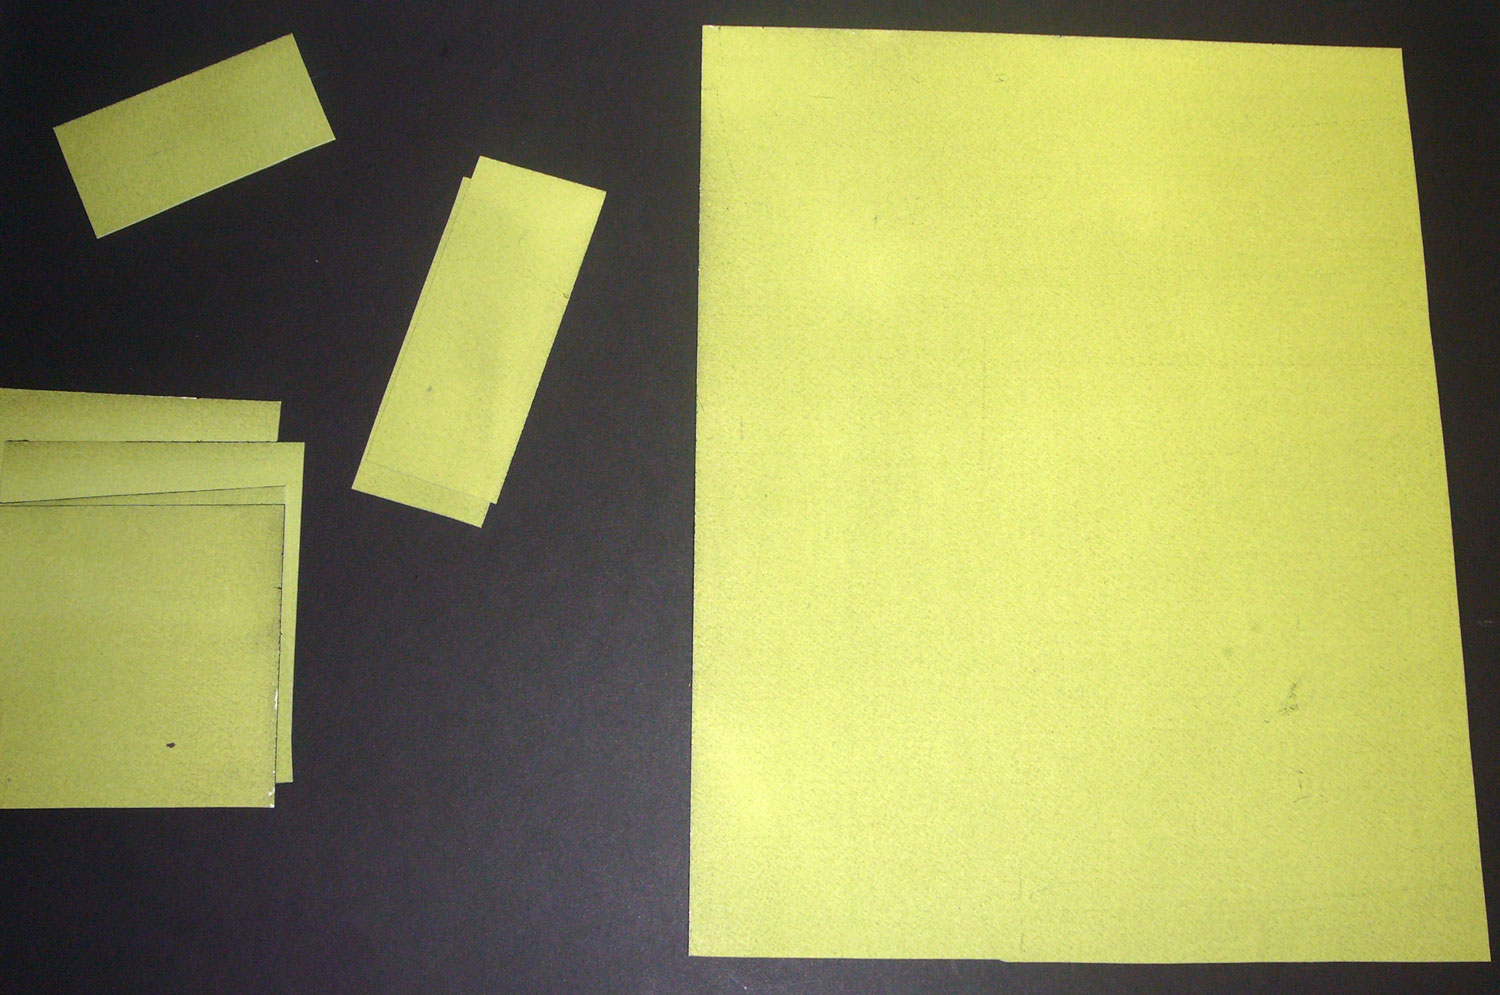 I use large sheets of paper which I then cut to size as needed, or not. I coat the paper by wetting (and then removing excess water from) a hake brush and gently ‘painting’ the surface as evenly as possible. Pour the appropriate amount of mixed solution onto the centre of the paper and spread it out with the brush as quickly – but not hastily! – as you can. Paint horizontally and then vertically several times across the entire sheet until an even finish is achieved. Leave in the dark to dry. It should be a lovely vivid yellow-green colour.
Dried, coated paper is then cut, and we are ready to make our cyanotypes.
The image set-up and exposure process is described in Part Two!