Following from Parts One (preparation) and Two (set-up and exposing) this final part details finishing the exposure and developing the image.
Ending the Exposure
Choosing when to finish an exposure depends on artistic choices such as the desired colour and level of detail in the final image. See Part Two for more details. In these images detail was desired. This necessitated an exposure time of around 3 days in variable conditions from full, strong sunshine to borderline rain.
Hellebore
The idea here was to produce a ‘soft’ image, but with sharp detail of veins within the petals. This flower was originally dark purple / black.
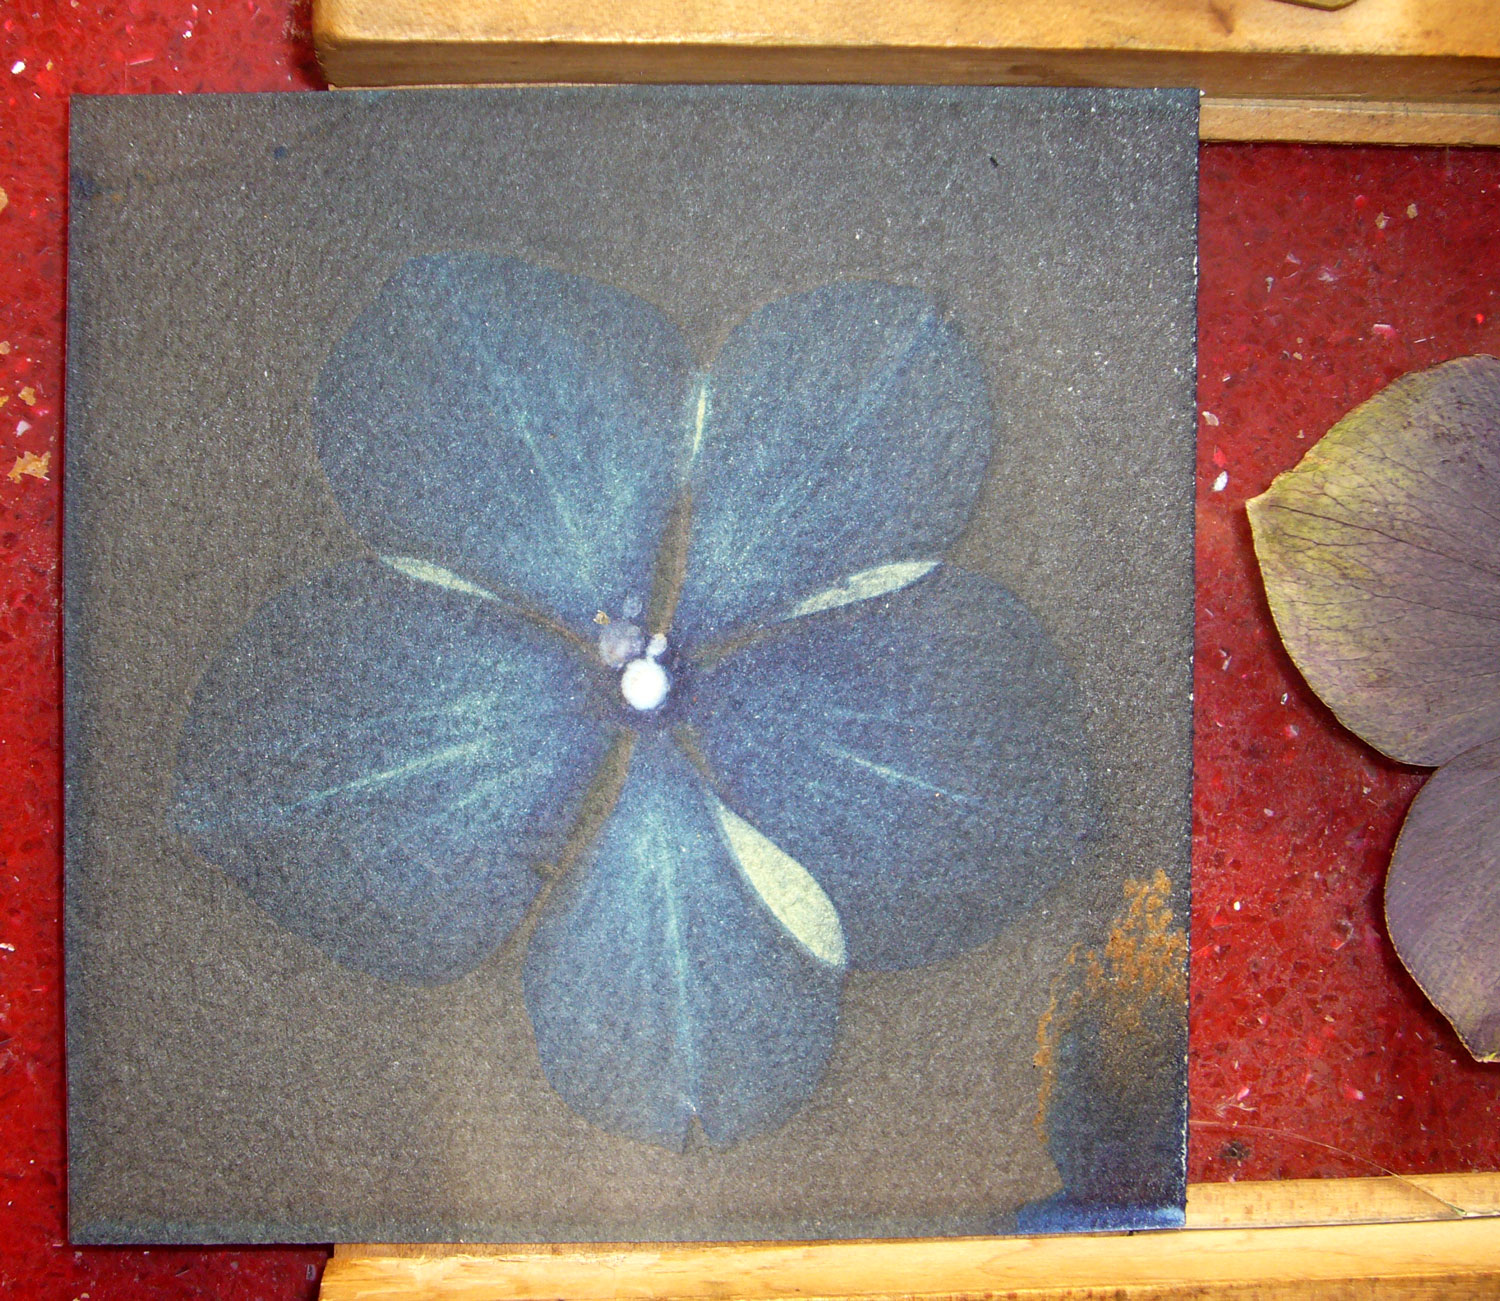
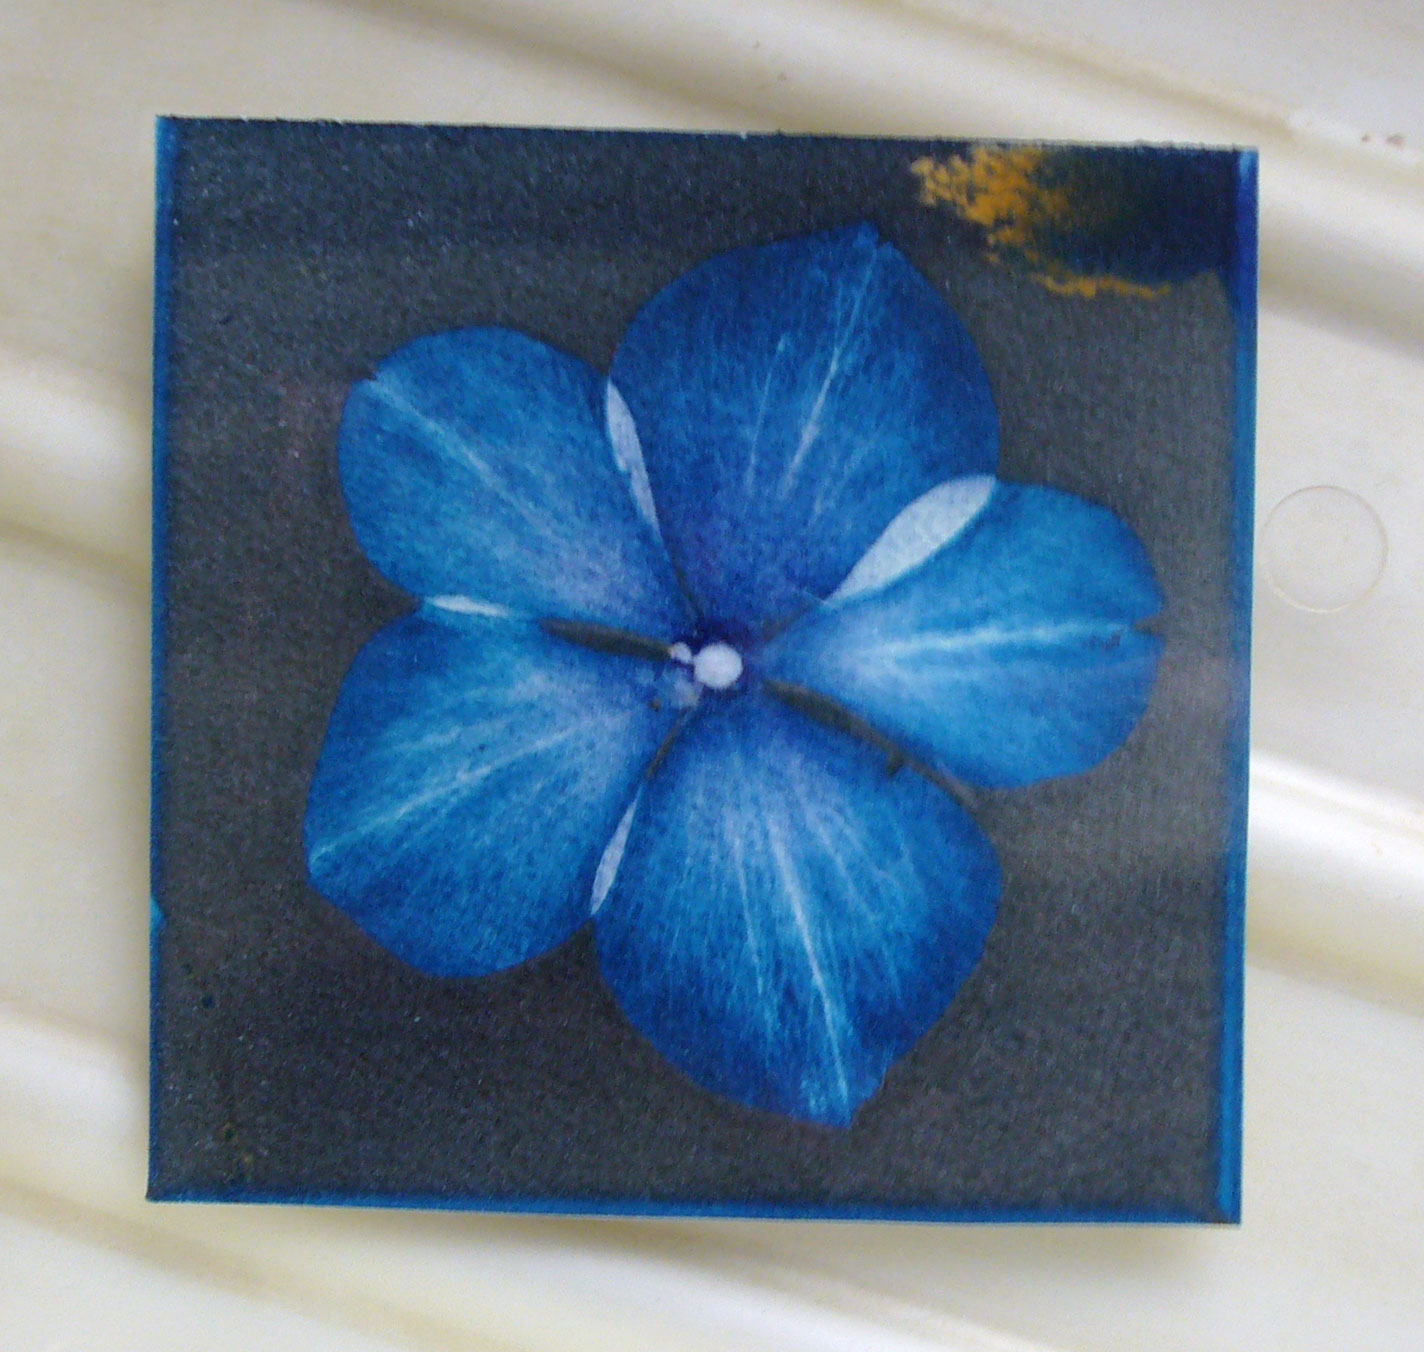
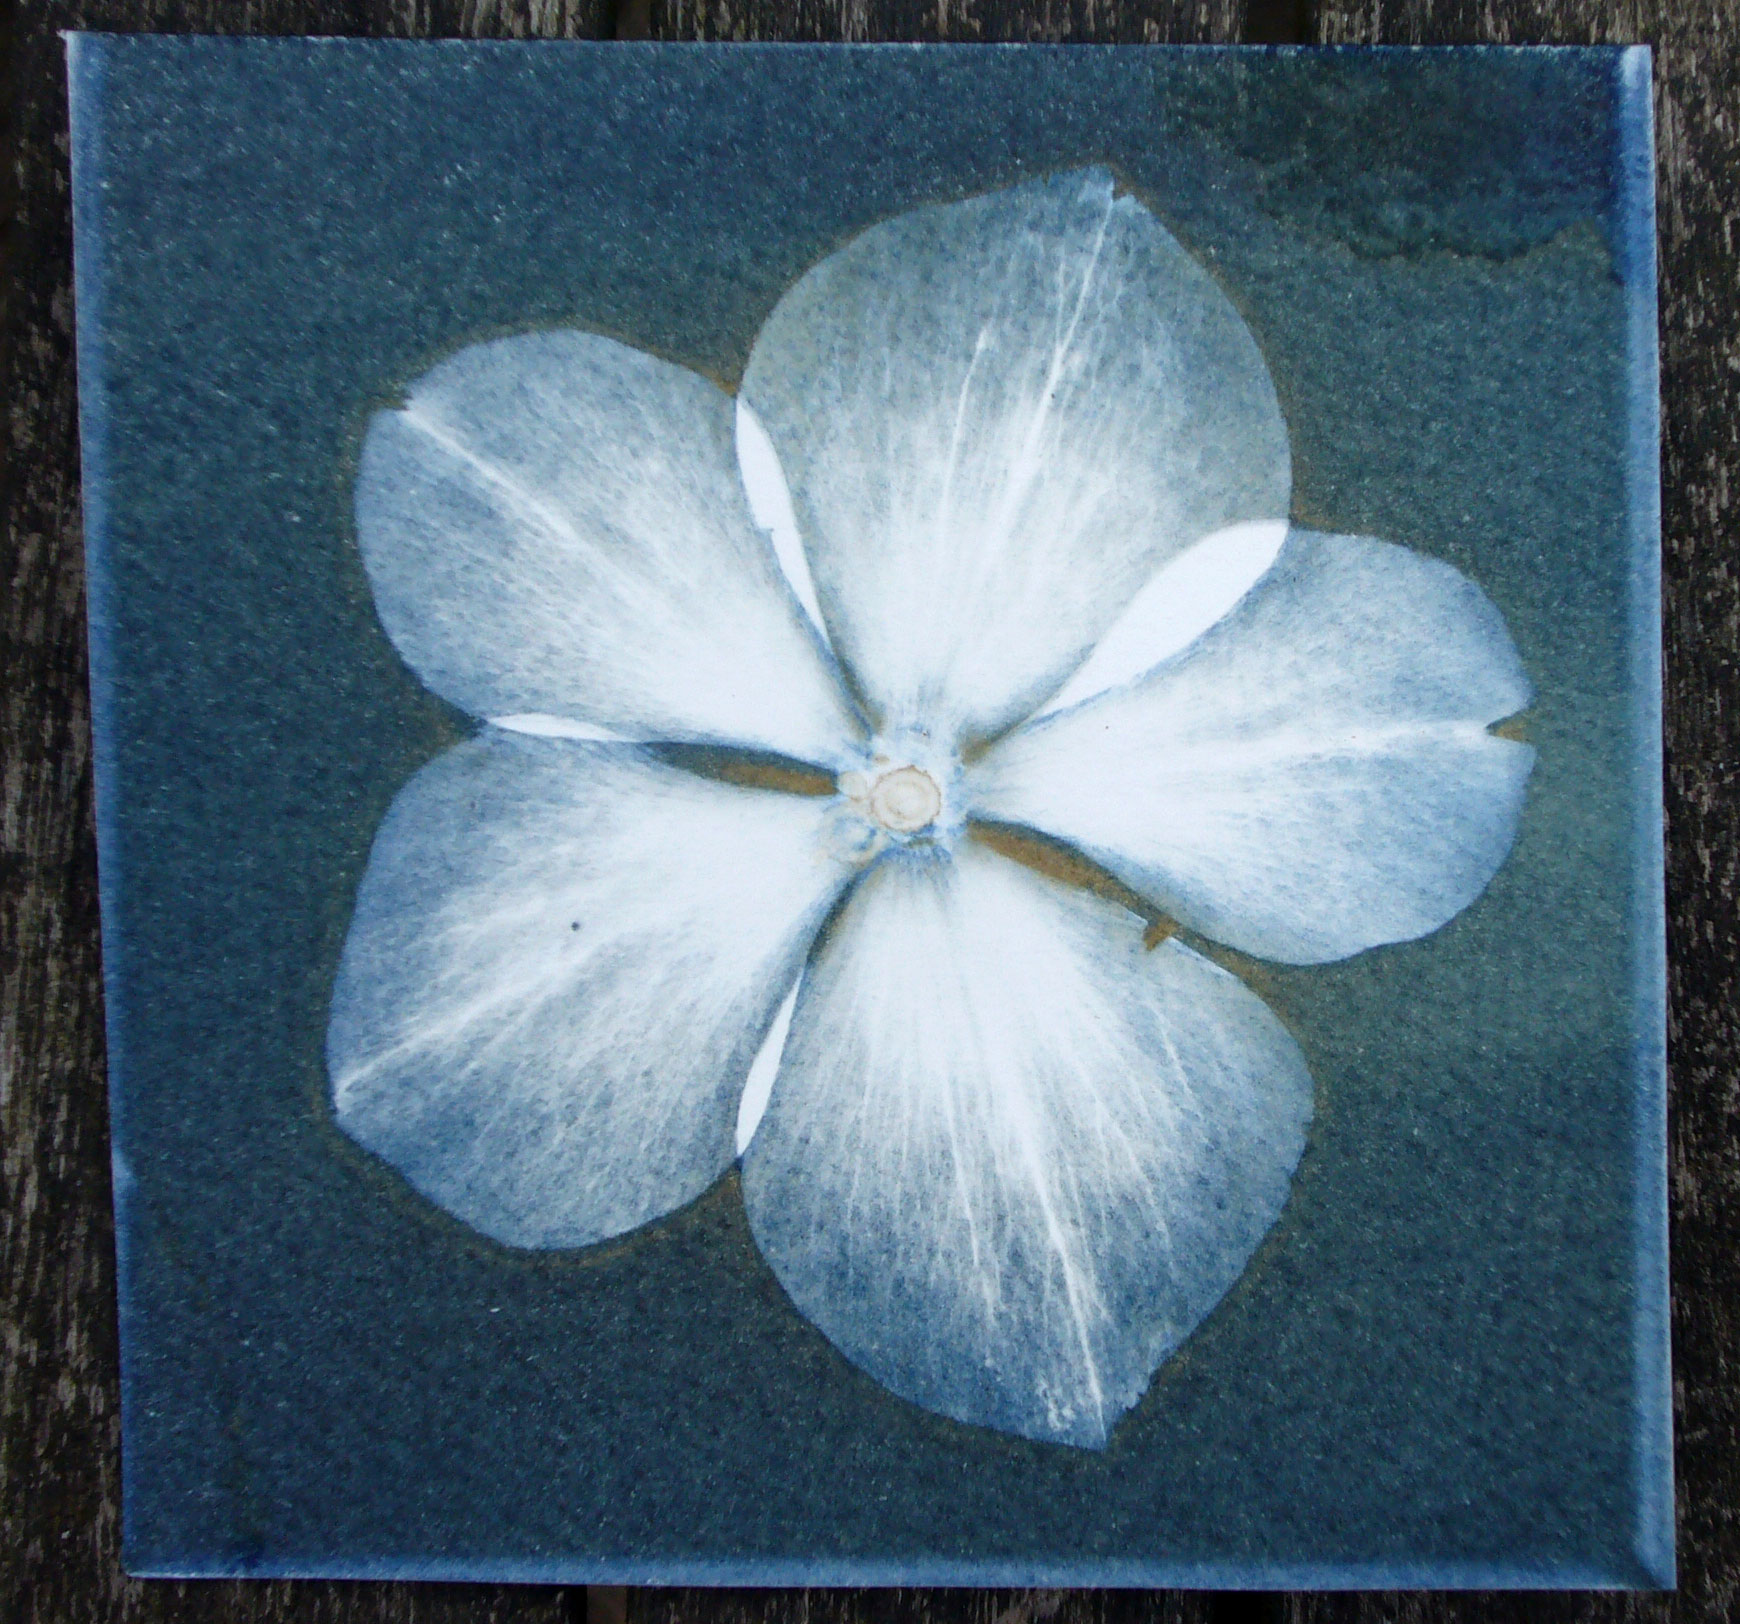 These pictures show how the level of colour change during exposure translates into the final image. Comparing the exposed colour (top left) to the final, dry image (bottom right) shows how much colour can be lost during development. To get any detail of veins the petals need to be exposed to a very dark blue (e.g. towards their outside edges).
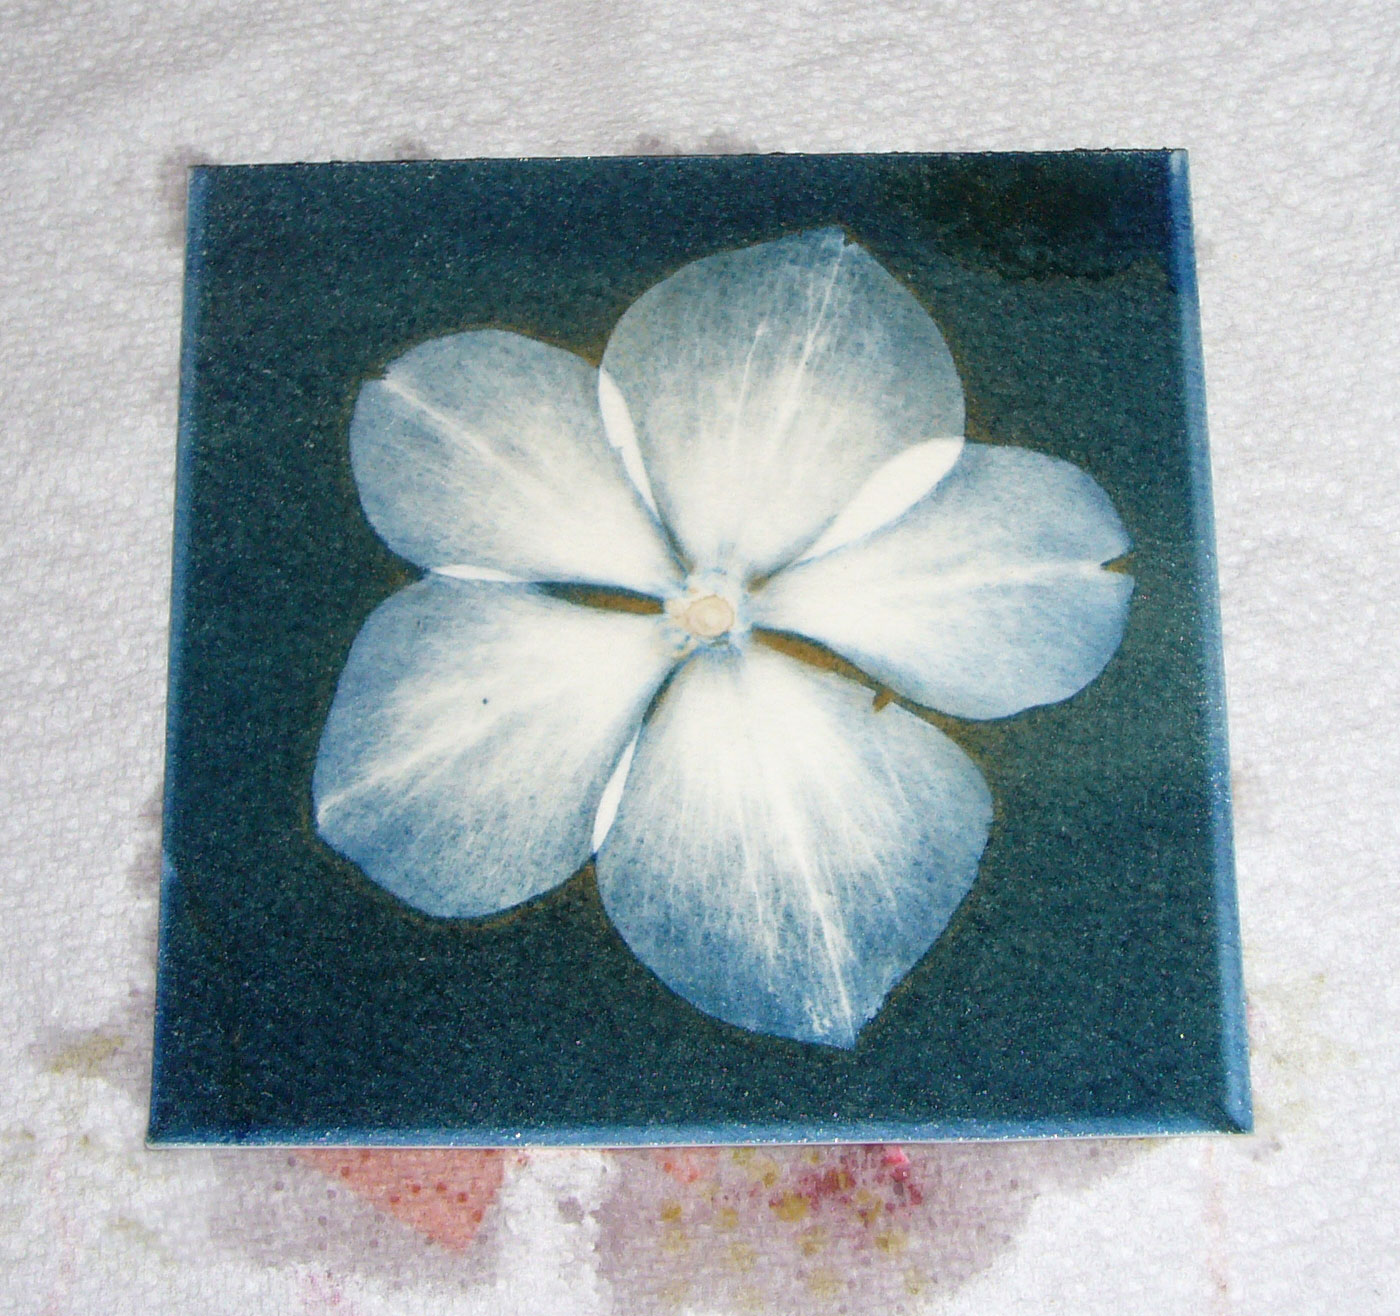
Once exposed, development is simple – wash the image in tap water until you reach a level of development you are happy with! At a minimum, images should be developed until all unused chemical is removed. This is easiest to see where paper may still be more-or-less unexposed, such as on the overlapping areas of petals, above. The paper should be washed until these areas return to the original colour of the paper. Top left shows development after a minute or so; bottom left shows my choice of ‘full’ development / completed washing for this image. Washing these images was done for around an hour, with multiple changes of water. Most of the chemical was removed within the first 5 – 10 minutes, after that it becomes aesthetic preference. I have washed images for up to 18 hours when needed.
Extending the washing time can alter images to the better but, again, this will be an artistic choice of when to stop. Delicate areas will fade and possibly disappear during long washing.
Finally, it is often suggested that an oxidizer such as hydrogen peroxide is added to the water to ‘finish development’. This is a fallacy and unnecessary. The image will acquire it’s final colour to exactly the same extent once fully dried.
The final image here is pleasing and is close to what was intended. It has a certain ‘softness’ which reflects the subject’s dusky, matt character, and it has detail. It is an abstraction, one interpretation of this subject.
Silver Birch (Copse)
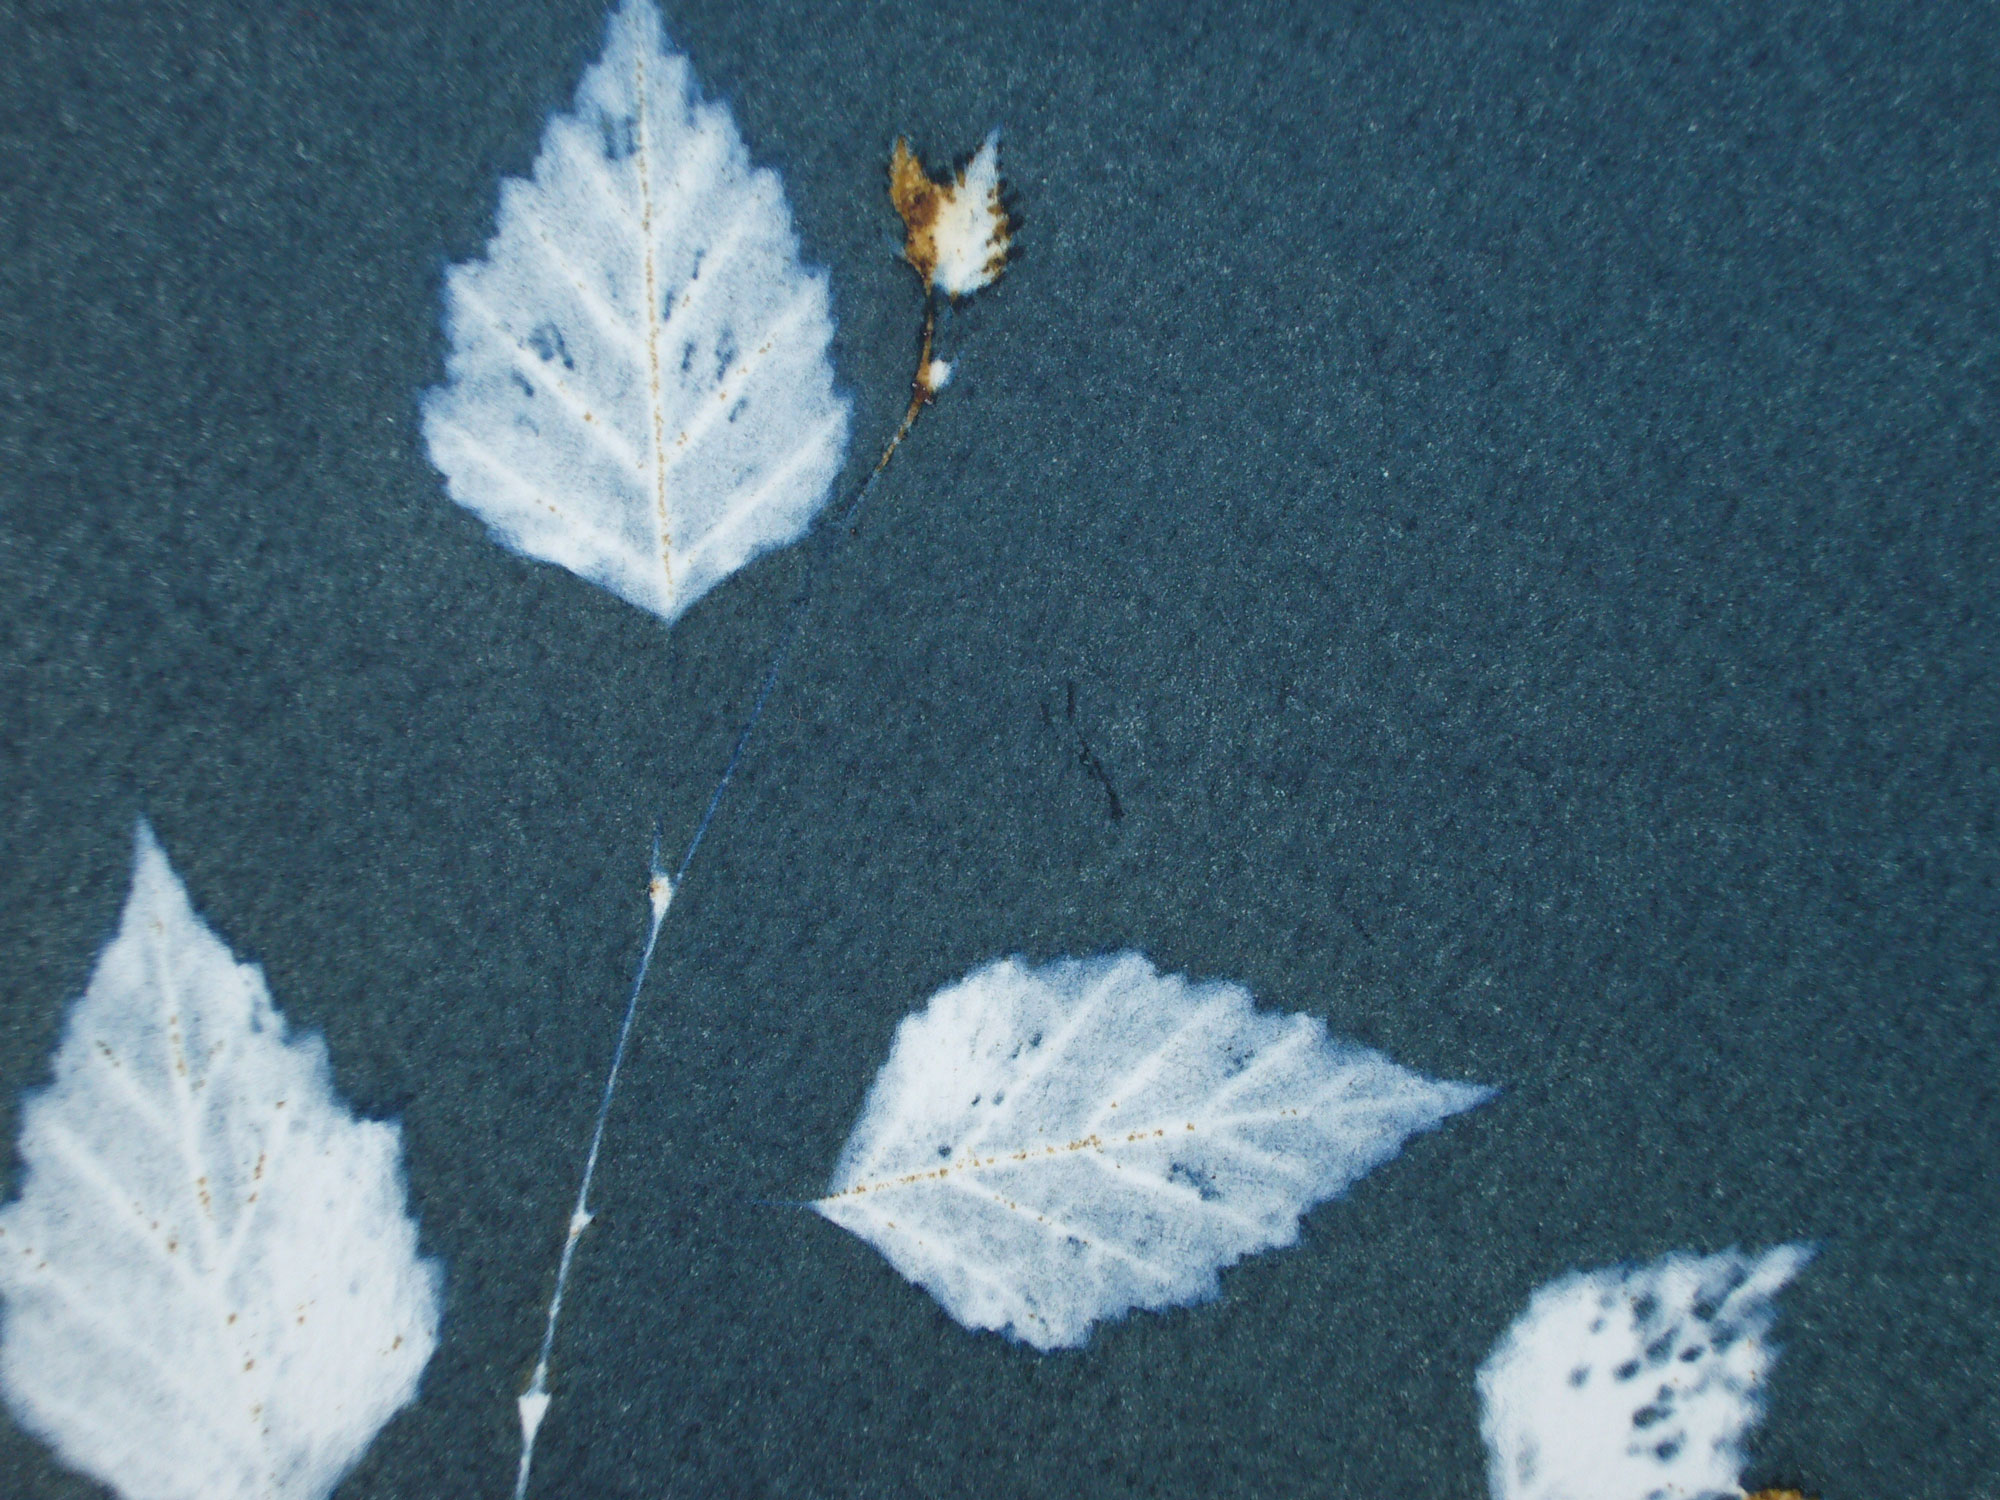
This image was made partly to serve as an exposure guide to the larger image, but also for it’s own sake. As above, detail in leaf structure was sought in the final image.
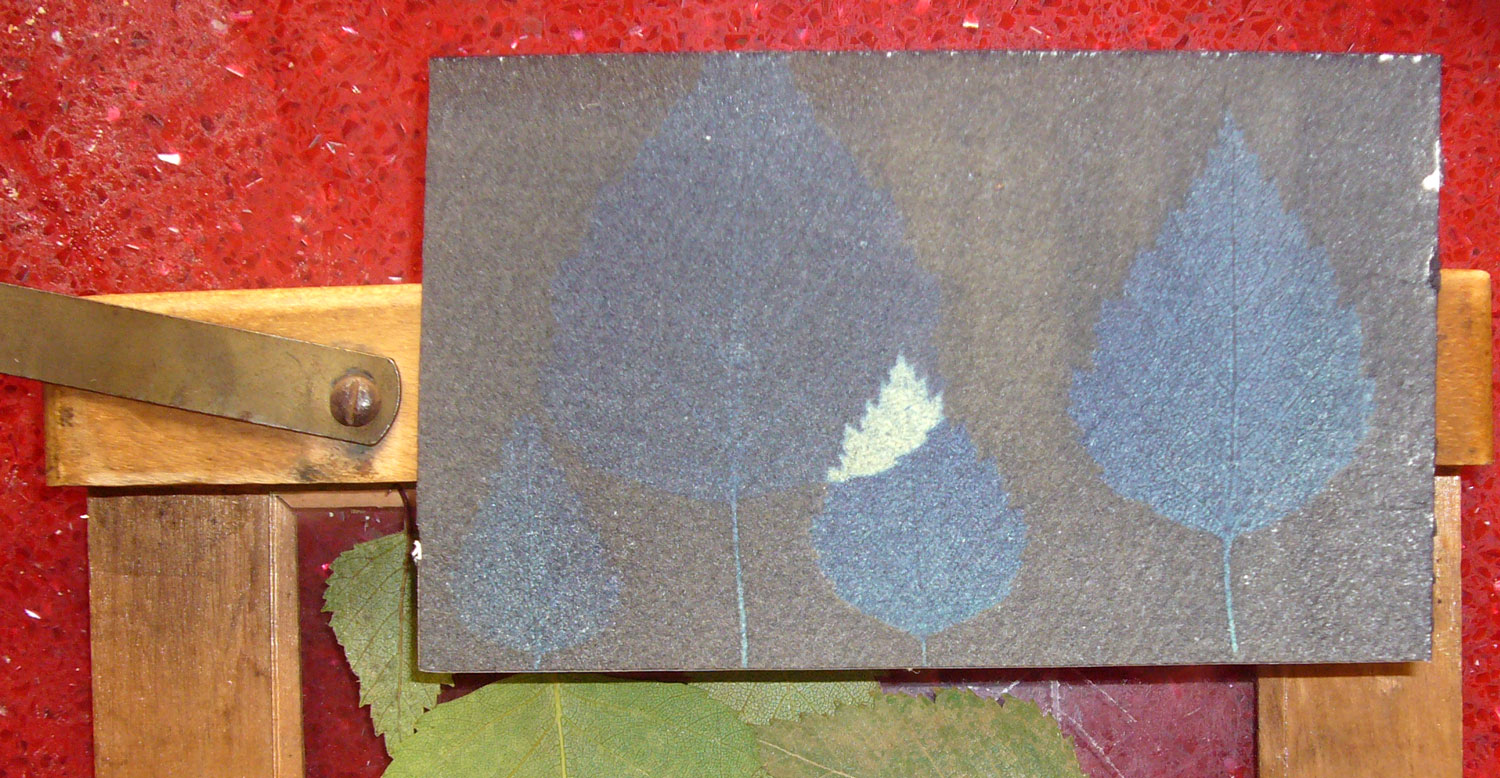 The image was exposed to a very deep blue in the leaf areas. Note how these areas remain an obvious BLUE colour, and have not developed through to grey- or silver-blue, as seen for the background. The overlap retains some yellow colour.
 During early development the leaves are quite a bright blue and detail is hard to see. The overlapping area has not yet returned to white, so we know that some undeveloped chemical remains. Stopping washing at this stage is not likely to give a satisfactory final image; there is no delicacy and it just does not seem to suit the subject.
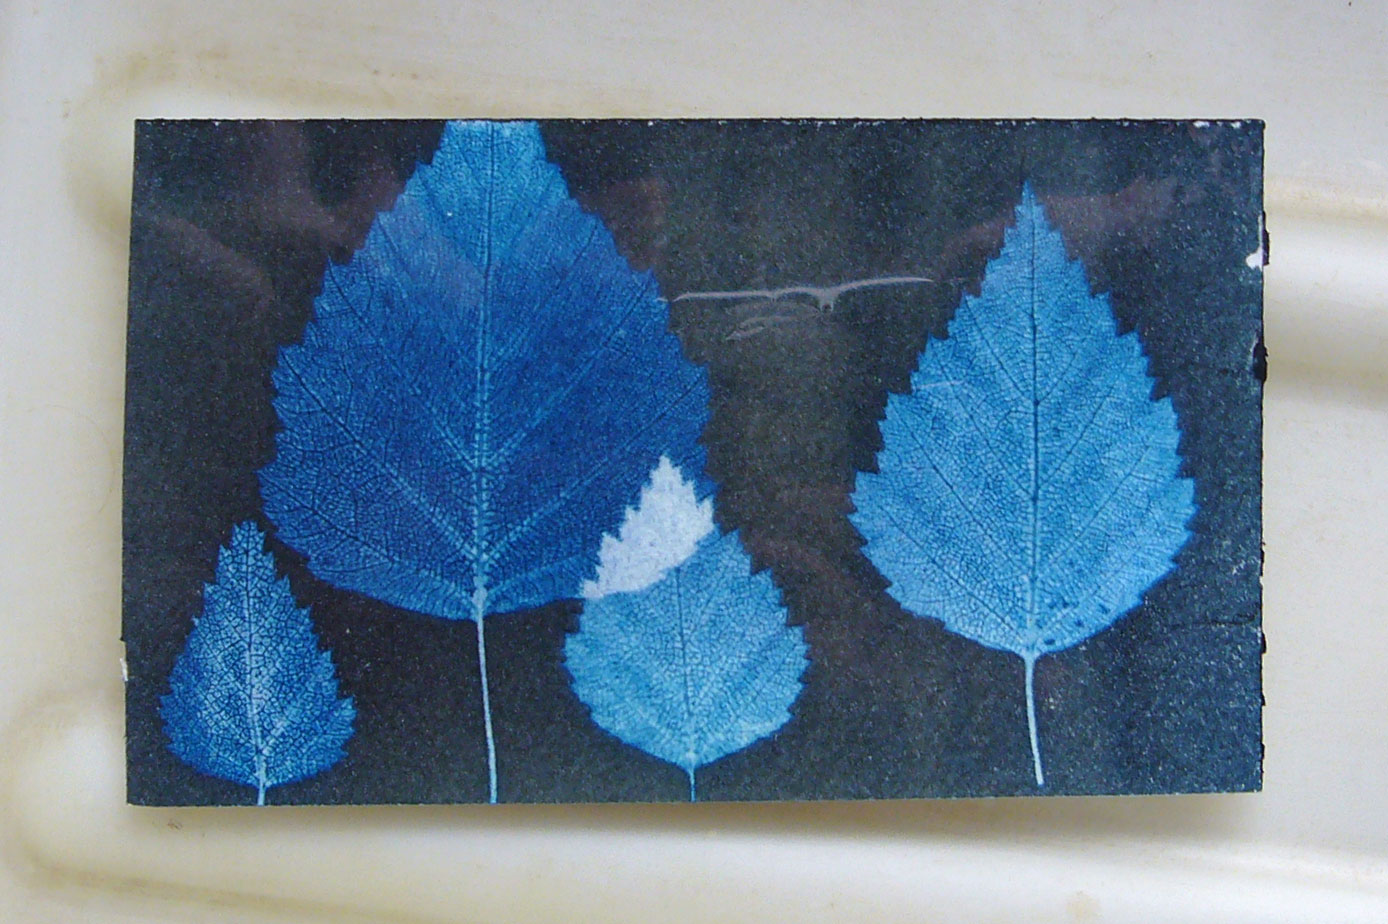
 By the end of washing (1-2 hours) the bright blue has gone and detail is more obvious. Some further loss of highlights will occur during the drying of the image, which is important to note, particularly when working with photographic negatives.
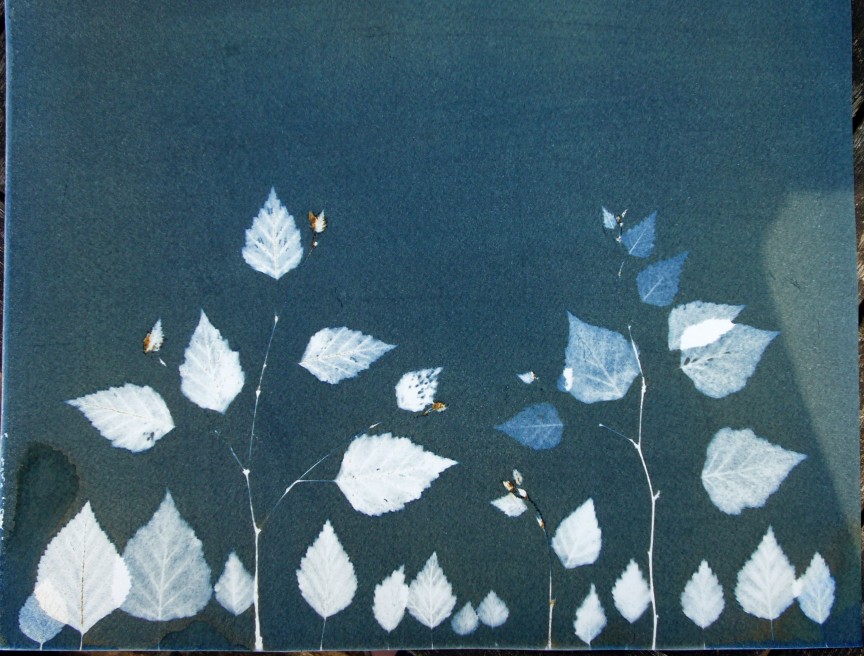
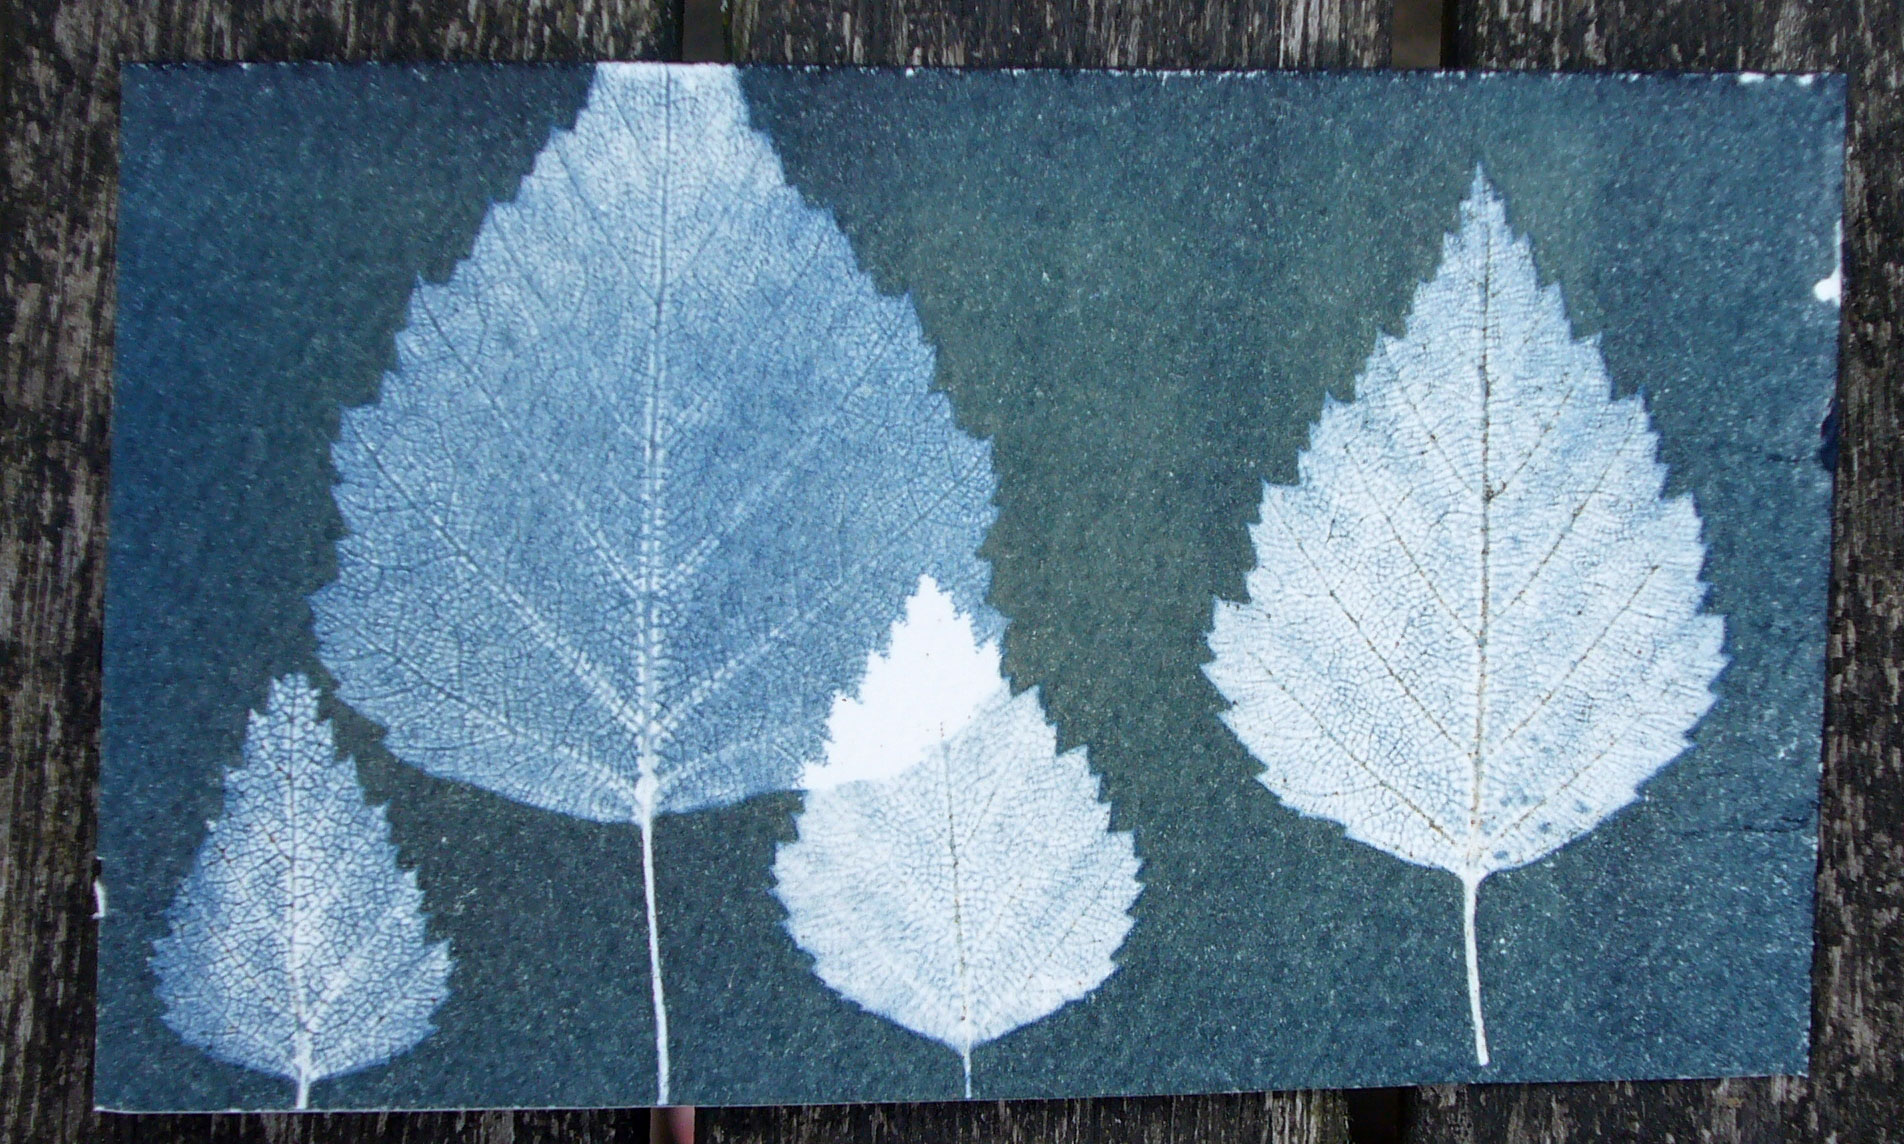 Based on the choice of exposure, this image looks just how it was envisaged; a simple composition, lovely sharp white overlap and good detail of leaf structure which can transform the leaves into ‘trees’. It is worth reiterating: exposure control is where the major creative control was found in making this image.
Silver Birch, Kindergarten
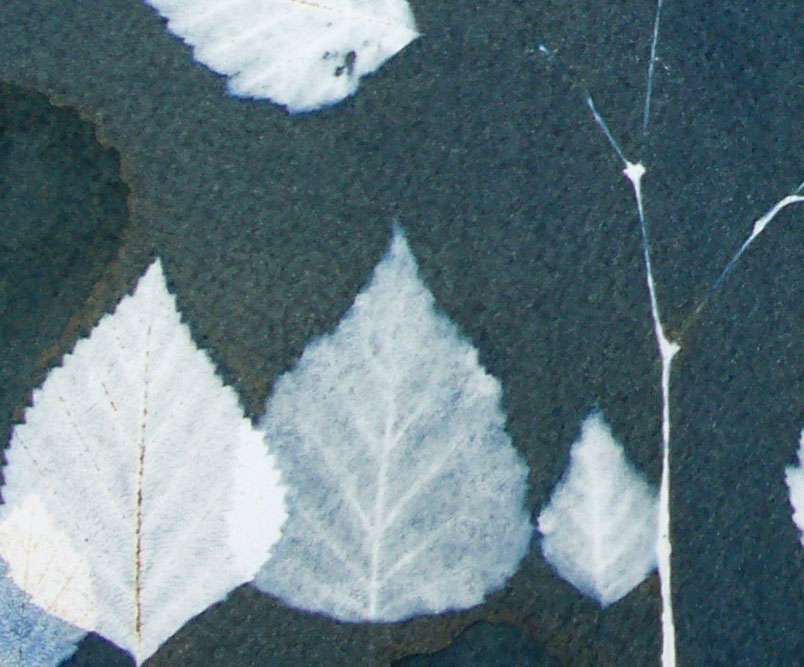
Based on the smaller exposure of Silver Birch leaves, it was decided to stop this exposure at the same time, as similar detail was hoped for.
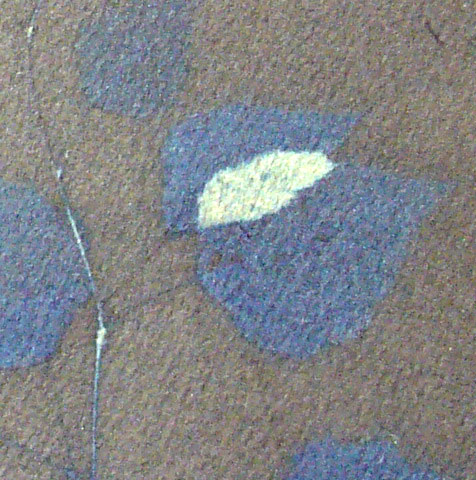
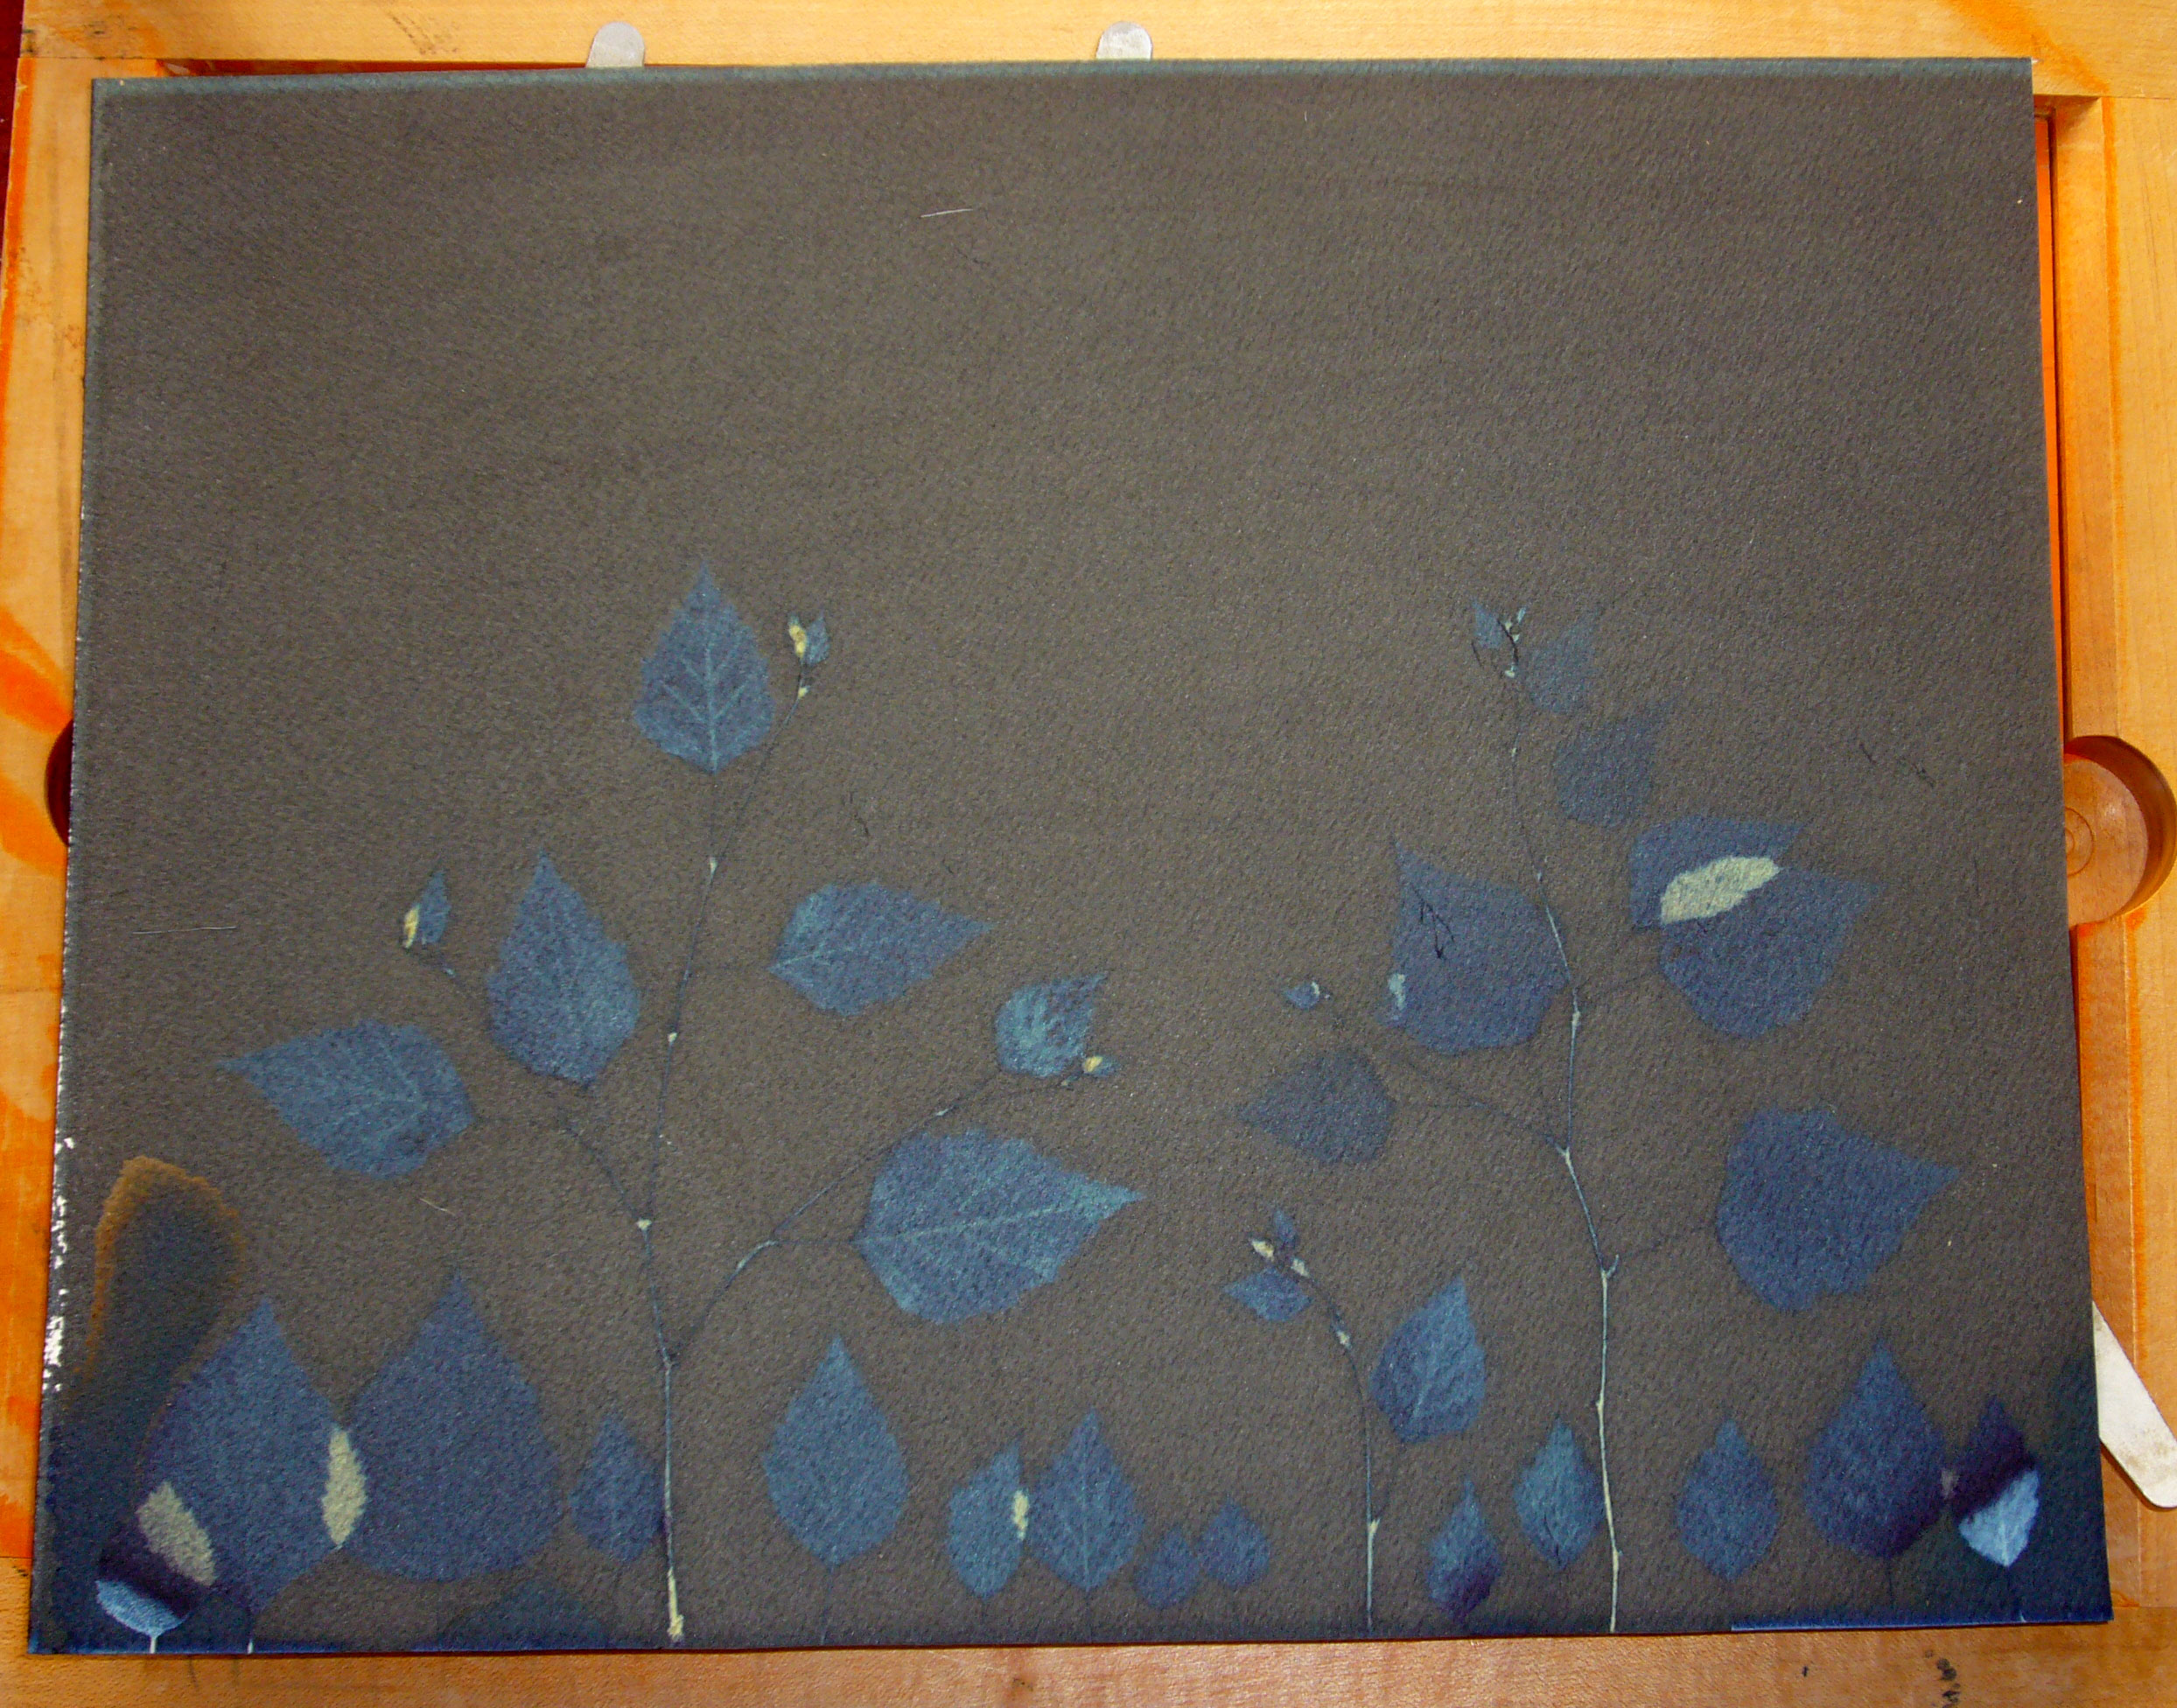 Having taken the image out of the frame it is clear that these leaves are slightly less exposed than in the test. Overlaps remain unexposed, as do the areas hidden under the twigs.
 Living plant material can be tricky to work with. It is generally designed to absorb ultra-violet light (in chloroplasts) and it is this characteristic which makes the exposures so long. Enough UV has to get through the leaf to change the chemicals into the insoluble form we wish for!
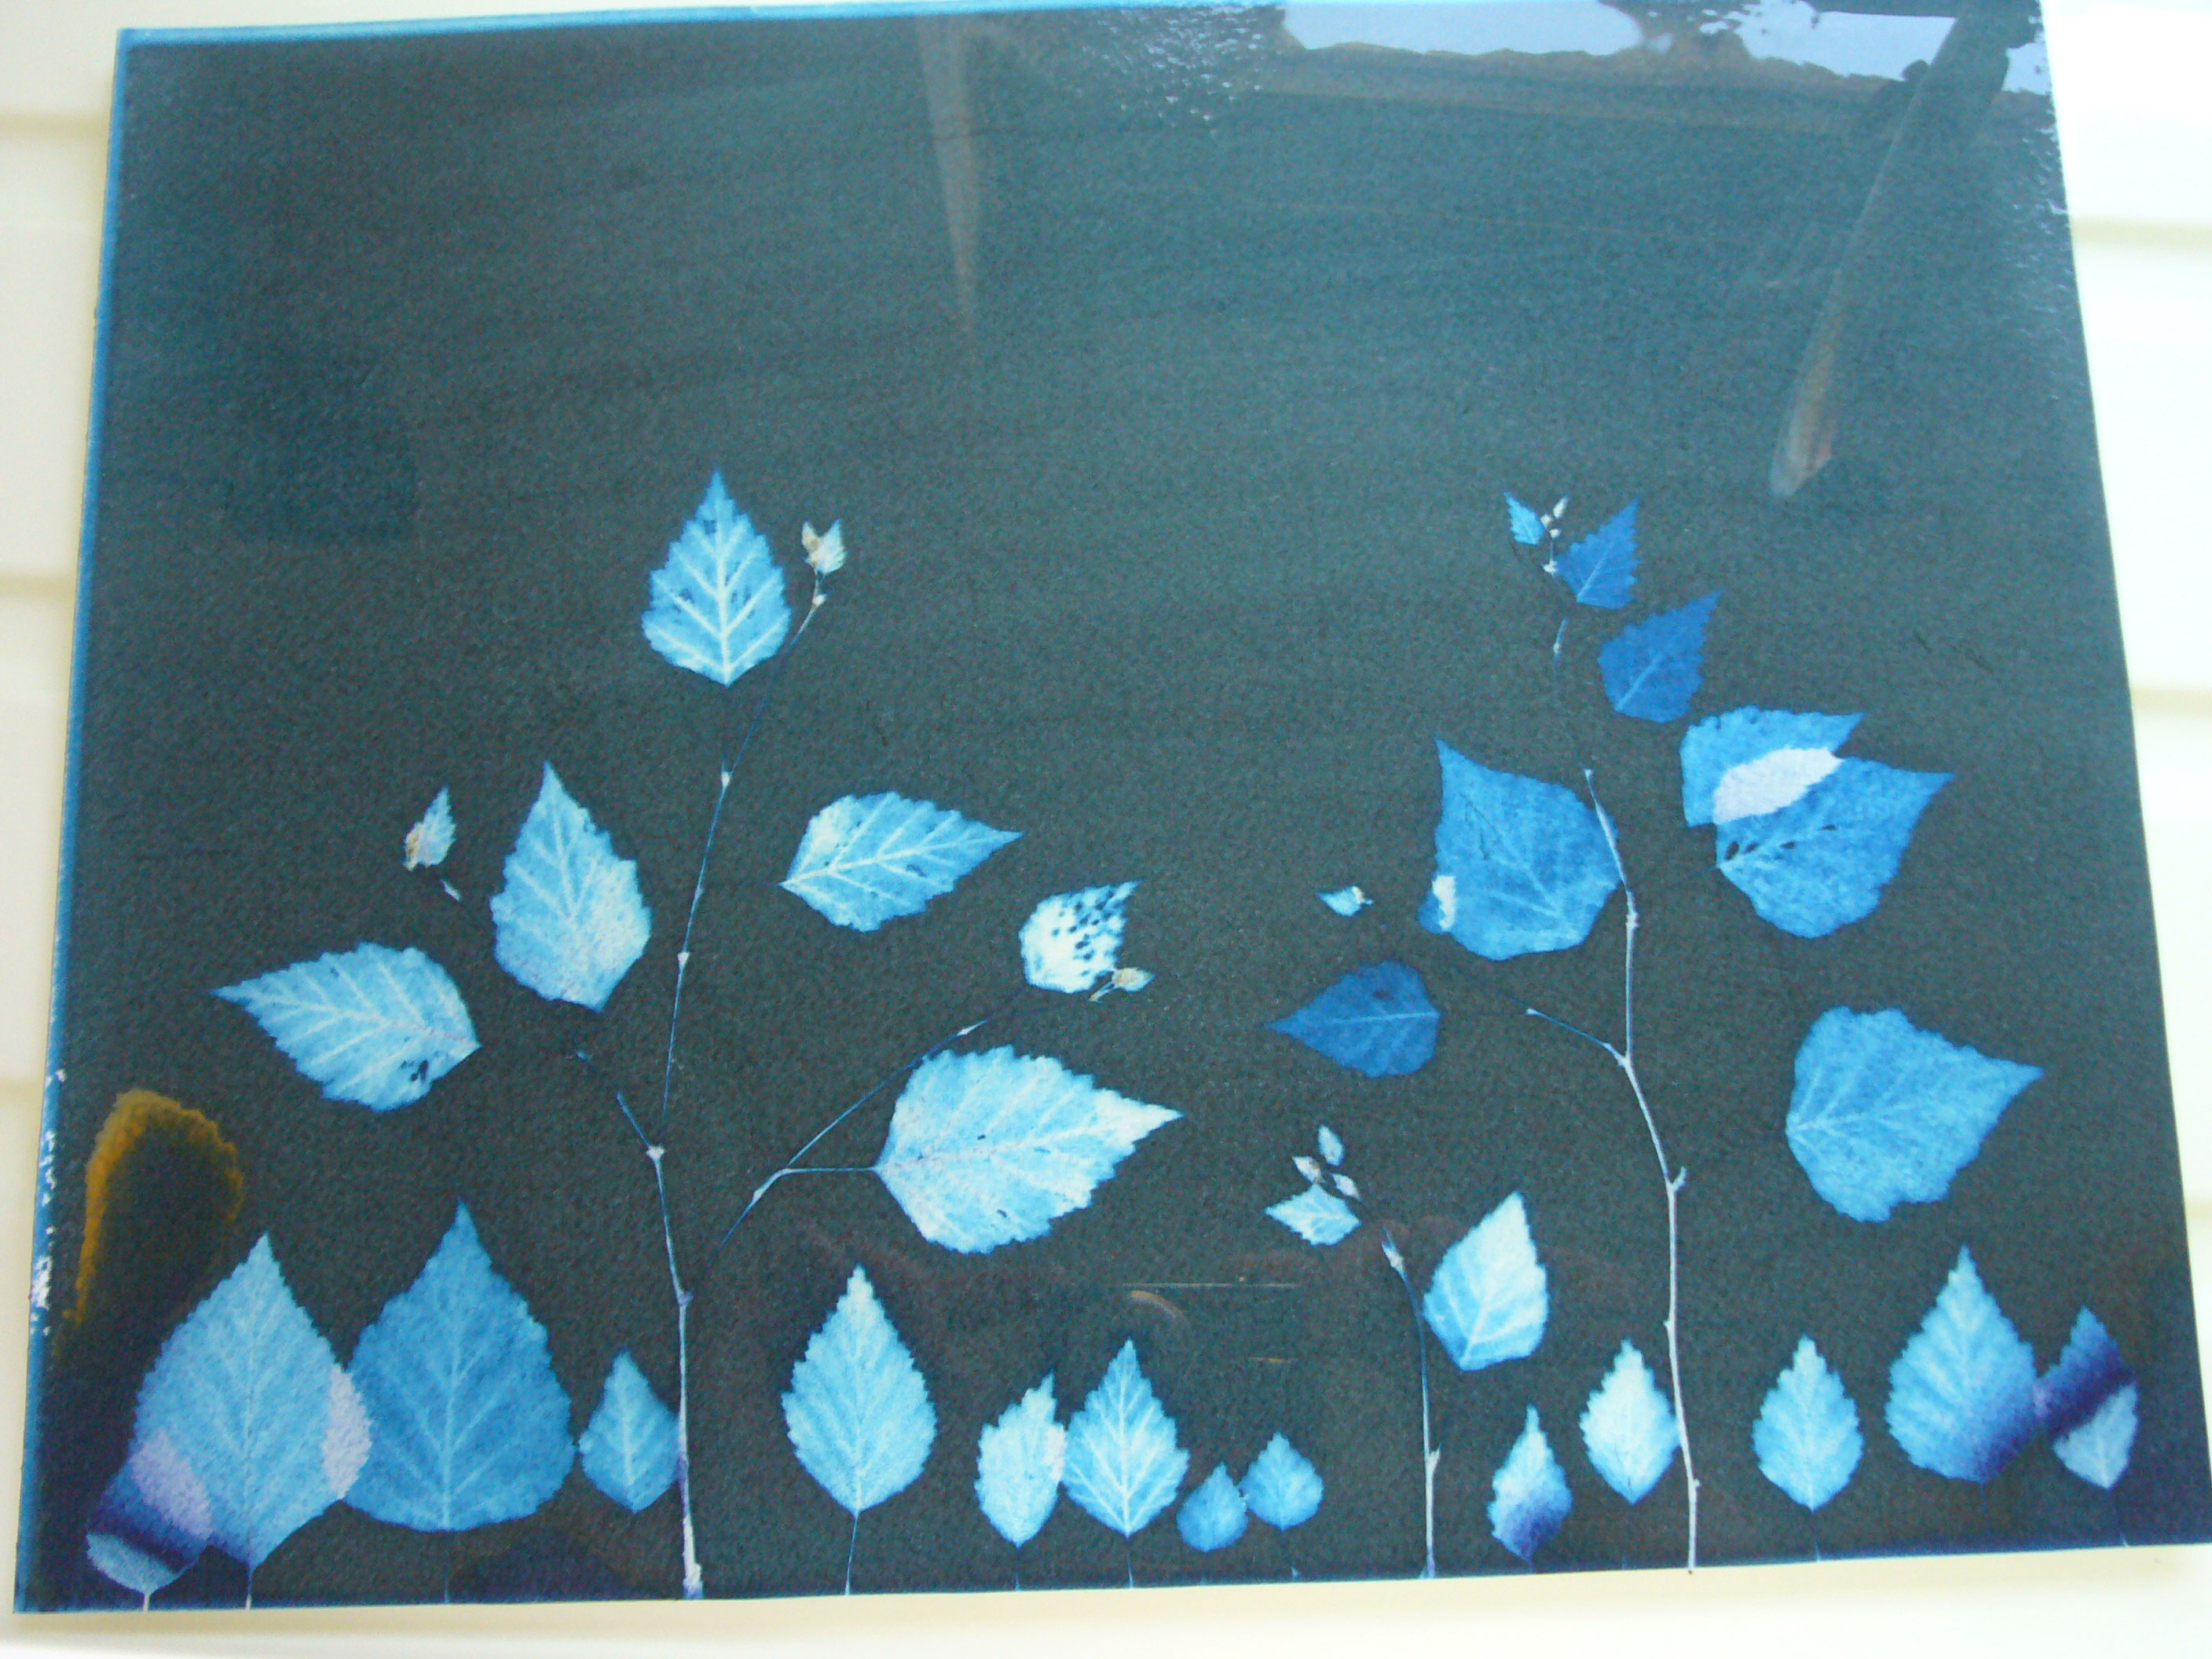
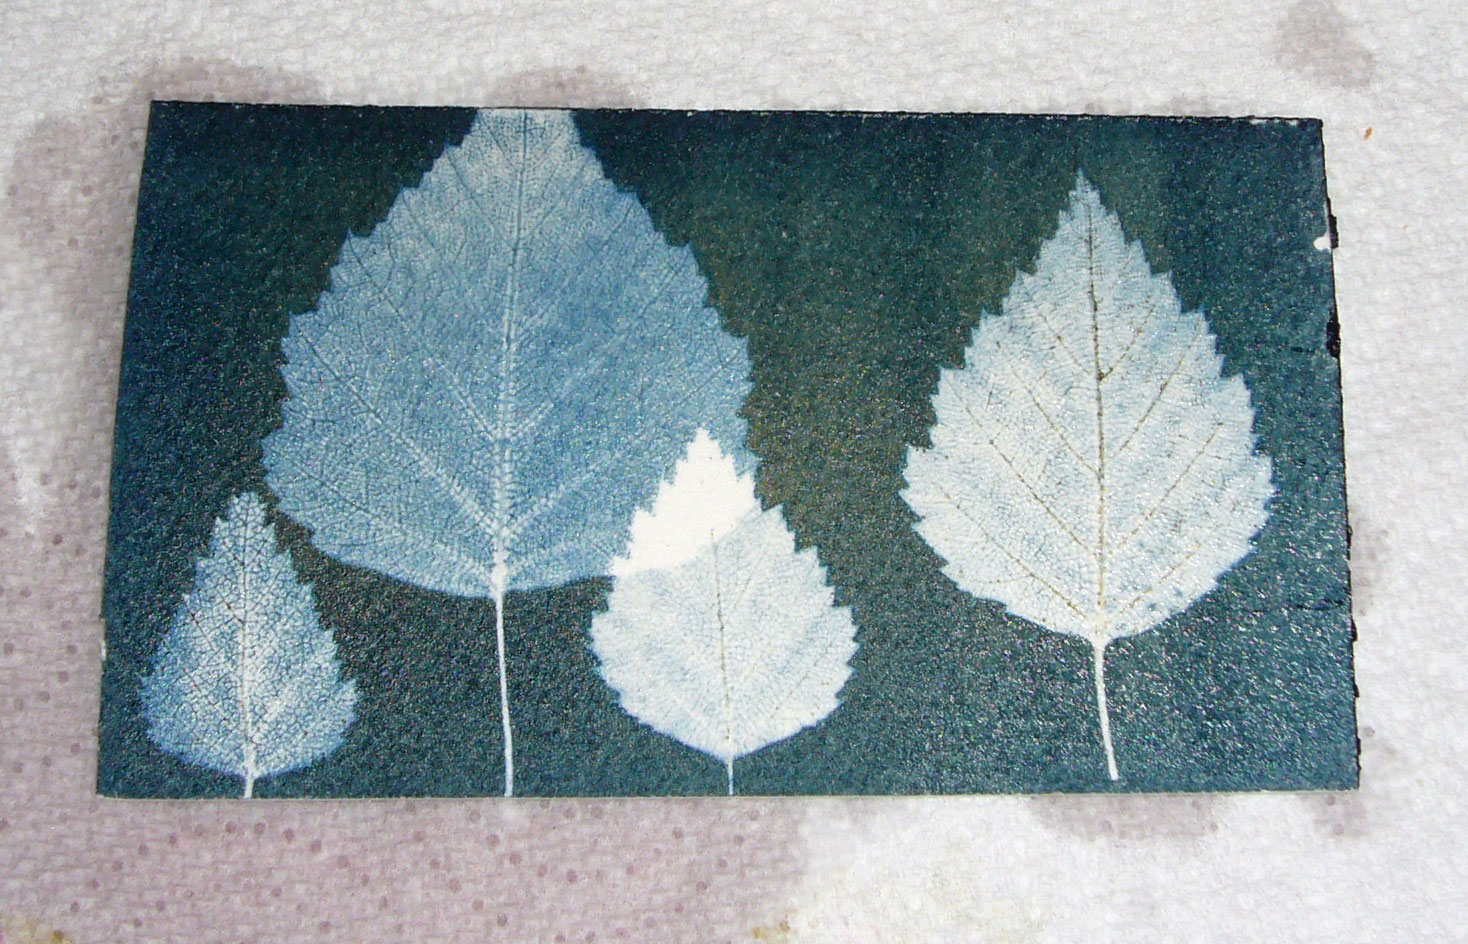
 The early (left) and final (right) stages of development for this image.
 The dried image is not quite as visualized, but is still very pleasing. The colour is good but the detail is lacking. Including the twigs as part of the arrangement has resulted in a less-than-perfect contact of the leaves with the paper. Even this very minor lifting (probably less than 1mm) means the detail seen in the test image, above, is not found here. If a similar image were to be made, this would be taken into account in the set-up, with some method developed for ensuring a snug fit of paper against leaves even with twigs in place.
Such is the unexpected fun and experimentally-acquired beauty of cyanotype printing! The final image is, despite the lack of detail, aesthetically very pleasing and will make a good framed print. Now to choose the next subject…
If you still have questions, or would like more details about specific images, please feel free to get in touch.